Just one of the flowers was inked and stamped using the SU "Inspired by Nature" stamp. The image and striped layer were cut out using the SU Labels Collection Framelits. We did this card using two different colors.
It may not be clear but the inside off white layer was sponged slightly around the edges.
Thank you for stopping by!
Saturday, June 30, 2012
Friday, June 29, 2012
KANGAROO CARD MADE WITH PUNCHES
Sorry about this picture. I was in a hurry to post and couldn't get this one cropped.
This is another card we made at the May SU workshop. Isn't he cute? The entire body of the kangaroo was made using punches from Stampin' Up!
Thank you for stopping by!
Thursday, June 28, 2012
A FUN LAYOUT
When I went to the SU workshop in May, this was one of the cards that was available for us to make. It is so different than anything I have made before and I think it will make a fun card to send to someone.
To begin, we used 2 pieces of off white card stock that measured 8" x 4". Each piece was scored at 2" and 6".
One piece was attached to the other as shown in the picture to the right. With the top and bottom pieces folded inward, decorations were added to the left hand side of the top flap and right hand side of the bottom flap. With the side panels folded inward the left hand side is decorated on the bottom half and the right hand side is decorated on the top half.
The card is folded like you would close the top of a box. We then mounted it onto a coordinating piece of card stock that measured 4 1/4" x 4 1/4".
There would be a variety of ways the card could be decorated. Thank you for stopping by!
Wednesday, June 27, 2012
YOUR SPECIAL DAY
This is another card part I had in my basket. The top layer had been completed but had not been mounted onto a card.
The little embossed flowers were done with a Cuttlebug folder. The right hand portion was embossed with the Cuttlebug Swiss Dots.....leaving a blank space at the bottom for the sentiment which is from a Stampendous set. Then line were scored to separate the sections of the card.
I had already added some tiny buttons to the center of the embossed flowers. When I found the card part, I mounted it onto a piece of SU Lavender Lace card stock and then onto the front of the card which had been embosssed with a Cuttlebug folder.
Thank you for stopping by!
Tuesday, June 26, 2012
SHARE THE MOMENTS
The sentiment on this card is another piece I stamped off when I was with the members of our Yahoo group. The actual stamp has a butterfly included, but I wanted to add some dimension to it so I didn't ink that part of the stamp.
Once I got home I put this card together. I was in the mood to "make a statement" so I chose the bold yellow and black combination to go with the yellow butterfly.
The card base was embossed using the Cuttlebug "D'Vine Swirls" folder. I don't know that it shows but I did run the black layer through using a different Cuttlebug folder with raised dots (but not the Swiss Dots one because it has managed to disappear somewhere in my craft room). The butterfly is from some that I purchased at Archiver's when our group visited there last year.
(I forgot to mention that the pearls were colored with a Copic marker to match the yellow card stock and butterfly.)
Thank you for stopping by! Your comments mean a lot to me so tell me what you think.
Monday, June 25, 2012
ICE CREAM CONES
When I was in Des Moines with the other members of our Yahoo group, we shared a lot of stamps that we brought. I borrowed this stamp from my friend, Lynette. The stamp is from Repeat Impressions if I am remembering correctly. This is such a fun card to use for summer birthdays or just "thinking of you" types.
The design is all one stamp. I stamped this one with Memento Rich Cocoa on white card stock. Then I stamped it again on three different coordinating papers plus the brown and cut out the pieces. I like this design best when each of the ice cream treats are done with different designs.
The papers are some I purchased at Archiver's. It's so fun to be able to work in one of their rooms and then run out and pick out papers that you want right at that moment. And if you haven't ever done paper piecing, give it a try because it really give a great look to the designs.
Thank you for stopping by! Your comments mean a lot to me so tell me what you think.
Saturday, June 23, 2012
FROM MY BASKET OF PIECES
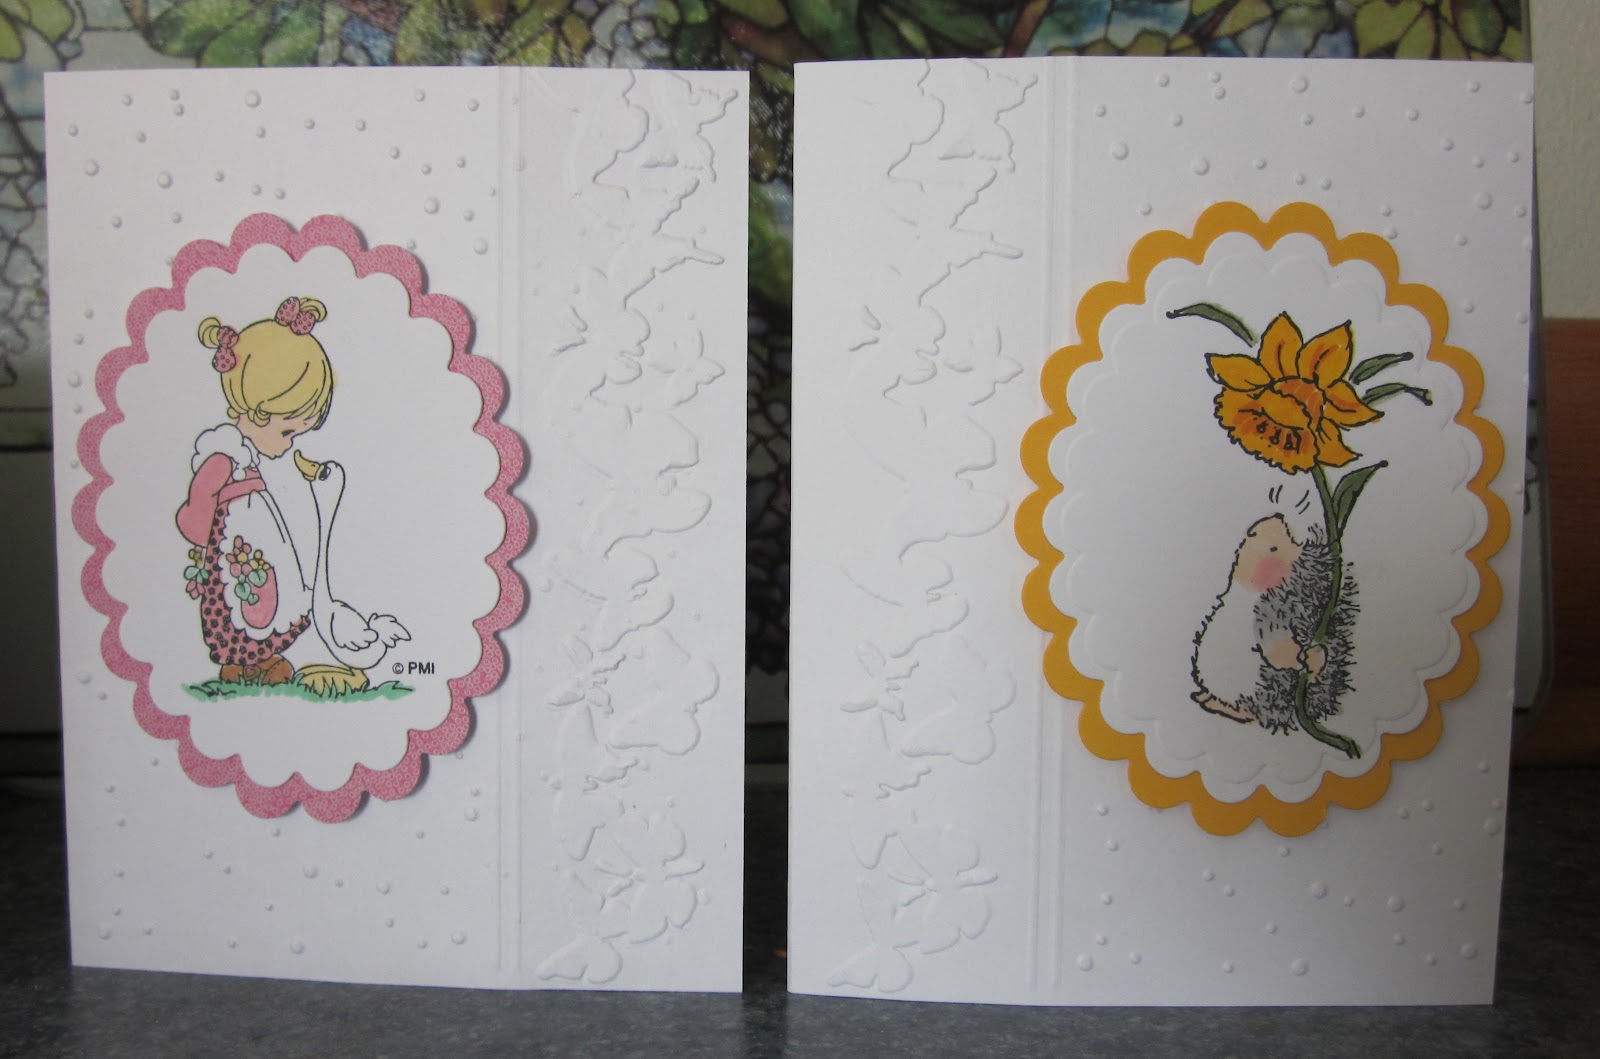
These two cards are so similar I decided to show both today. Part of the fronts are emobossed with a Cuttlebug embossing folder. If you click on the picture and are able to enlarge it you will see that the other portion of the cards were embossed with a butterfly border.
The card on the left uses a darling Precious Moments image. On the right the image is from Penny Black. I colored both images with Copic markers.
The next few days don't look overly busy for me so I hope to schedule posts for future times and get back to regular posts for you to see.
Thank you for stopping by and continuing to follow my blog.......even though it has been terribly irregular lately. :)
Subscribe to:
Posts (Atom)
This is a card I made using the idea from Pinterest. I had the same "circle" dies and embossing folder. The birds are fussy cut ...
-
Card #13 Card #14 I had a request to post a picture of all of these cards together so after I scheduled this post, I too...
-
These were suggested layouts used for the pieces that were cut however I did make some minor changes on the ones I made. I'm ...
-
I saw a card on Pinterest using this layout. I chose different papers which made my card a different color than the one I saw. The sen...