Sunday, March 31, 2024

HAPPY EASTER!


After attending church this morning, one of our daughters, and her two daughters will be coming to our home for Easter dinner.  Our other daughter will be joining her husband's side of the family.  I hope you are enjoying a peaceful day with loved ones.

Thank you for coming by today!


Saturday, March 30, 2024

I used Hello, Irresistable designer series paper for these three cards.  


The paper on this first card is Soft Seafoam and it is very light.


 This one used Lost Lagoon card stock with the designer series paper.

Thank you for coming by today!

Friday, March 29, 2024

BUNNY TREAT BOX


This treat box is great for just adding a few small Easter treats.

Thank you for stopping by!

Thursday, March 28, 2024


My card was modeled after one I saw on Pinterest.  That card used a die with larger trees.  This die is from Penny Black.  I liked the larger trees better but I needed to use what I have.  I am wondering about the white area in the upper left hand corner.  I debated about adding some  birds from a stamp in the New Horizon stamp set.

Thank you for coming by today!


Wednesday, March 27, 2024

EASTER BUNNY TREAT BOXES


I bought a package of the Stampin' Up! treat boxes a couple of years ago, I think, when they were being discontinued.  At the time I think I was going to use them for Halloween but never got to them.  The package contained 8 of the boxes so I made eight of them.  When making the ones for the boys I used different designer series paper.  I filled them with some green Easter grass and then added the candy.  These were inspired by Rachel Tessman's video.  They were so much fun to make.

Thank you for coming by today!

Tuesday, March 26, 2024


I was able to make this card by looking at a card that someone was going to offer as a .pdf for $15.  It didn't look all that hard, so this is what I came up with.  

Thank you for coming by today!


Monday, March 25, 2024


A great stamp for Spring!  The retired embossing folder is from Stampin' Up!


Thank you for coming by today!


Sunday, March 24, 2024

Jackie Bolhuis made a card like this using different designer series paper.  It looked easy and because I have a punch for a 1 1/4" square, it went very quickly.  Eight squares were punched from 8 different designs. I placed them on a white mat measuring 4" x 5 1/4".  When I was happy with the placement, I moved them to the side in order and began by adding the corner pieces first leaving about 1/16" on the outside border.  


I really like the black and white, but I think just a little pop of yellow or red to a couple flowers might work too.  When this one was done so fast, I pulled out some left over Berry Delight dsp and used up some little scraps.  The red with white dots is actually not from the Berry Delight pack.  


I can't wait until we can once again get fresh strawberries from a farm near us. They are the best!

Thank you for coming by today!

Saturday, March 23, 2024

HAPPY BIRTHDAY, JAN!


Lisa Freeman's video used this Stippled Rose dsp for a card like this and by cutting two sheets of dsp at the same time, you are able to make two cards very quickly.  This first one was sent to a friend of mine who has a birthday today.  She has been going through Chemo treatments for leukemia so I sent a package of my cards to her as a surprise birthday present.  I got a note from her today through Facebook and she said it was an especially appreciated because she was just recovering from a week of Covid and still sniffling and coughing.  She's been through a lot because of Cancer so I'm glad I could do something for her to brighen her day even just a little bit.

The second card is below........


Thank you for coming by!


Friday, March 22, 2024


I had seen a card on Pinterest that used this Stippled Rose dsp but in a different layout.  I really like the cluster she had made with the die cut so did one similar on my card.


Inside

Thank you for coming by!


Thursday, March 21, 2024

Once I decide how I'm going to use this card, I will add a little sentiment...........probably just a little strip across between the birds.  This was made following directions from Rita Holmes.  I decided to just use the same colors that she had used.


The books are popped so that when the card is opened, the books "spring" forward.


Thank you for coming by!


Wednesday, March 20, 2024


I had seen some cards making these Chirpy Doodle birds but had never given it a try.  They're very easy to make but it took me watching  this video from Rita Holmes to actually make one.  I had this paper on my table from a card I made Monday so I just went with it.  


Inside

Thank you for coming by today!


Tuesday, March 19, 2024


This is the video I used to make this card using more retired dsp. After I finished, I was a little dissatisfied with the white background.  I made a second card but embossed the white pieces with the Subtle 3D folder.  I liked it much better.  

The second card was also made using the book binder layout but I made it vertically instead of horizontally because the narrow strip of the design was in an orientation that didn't work for a horizontal card.


Thank you for coming by today!

Monday, March 18, 2024


One of the cards made on this video used this stamp from the Flowing Flowers set.  This isn't a two-step design and I wasn't sure how I was going to add the color because I hadn't really watched the process she used.  (You know how it is.....I "thought" I knew.)  I did use my MISTI and colored the flower with an SU marker.  Then I masked the flower and inked up the leaf portion with an ink pad.  There is a small gap between the flower and the rest of the design because of the mask I used.  I decided to just go with it!  If you actually watch her go through the procedure you will see how to do it in a better way.


Inside the card I found a really tiny smudge from my finger and used one of the little metal butterflies to cover it.

Thank you for coming by today!


Sunday, March 17, 2024


I pulled out the long retired stamp set "Awash with Flowers".  This is a whimsy design that is fun to work with.  The little dragonfly embellishments were added as an after thought because of little black "specks" from the stamps used.  The butterfly is from the Stampin' Up! Paper Butterfly Accents.  The butterflies are all white.  I used a blender brush to add Azure Afternoon ink.

Thank you for coming by today!


Saturday, March 16, 2024


Recently, while I was searching for ideas to use with the Chevron Dies from Die-Namics,  I saw a card by Angela Maine here on Pinterest.  I thought it was fun how she used the pieces to add texture to the background.  She had used a textured card stock.  I cut the chevron pieces and was dissatisfied with the Highland Heather pieces because they looked too plain.  I ran embossed them with the Subtle 3D embossing folder.  Much better.  I did use a completely different flower for my card.


I rarely remember to do any stamping or adding anything to the envelopes.  I did for this one.  I definitely love the idea to do it.  

NOTE:  You may notice that I am no longer placing a "title" to my posts.  They will just come up as a post for a particular date.  Sometimes it is just to hard to think of something clever or not being repetitive.

Thank you for stopping by today!


Friday, March 15, 2024


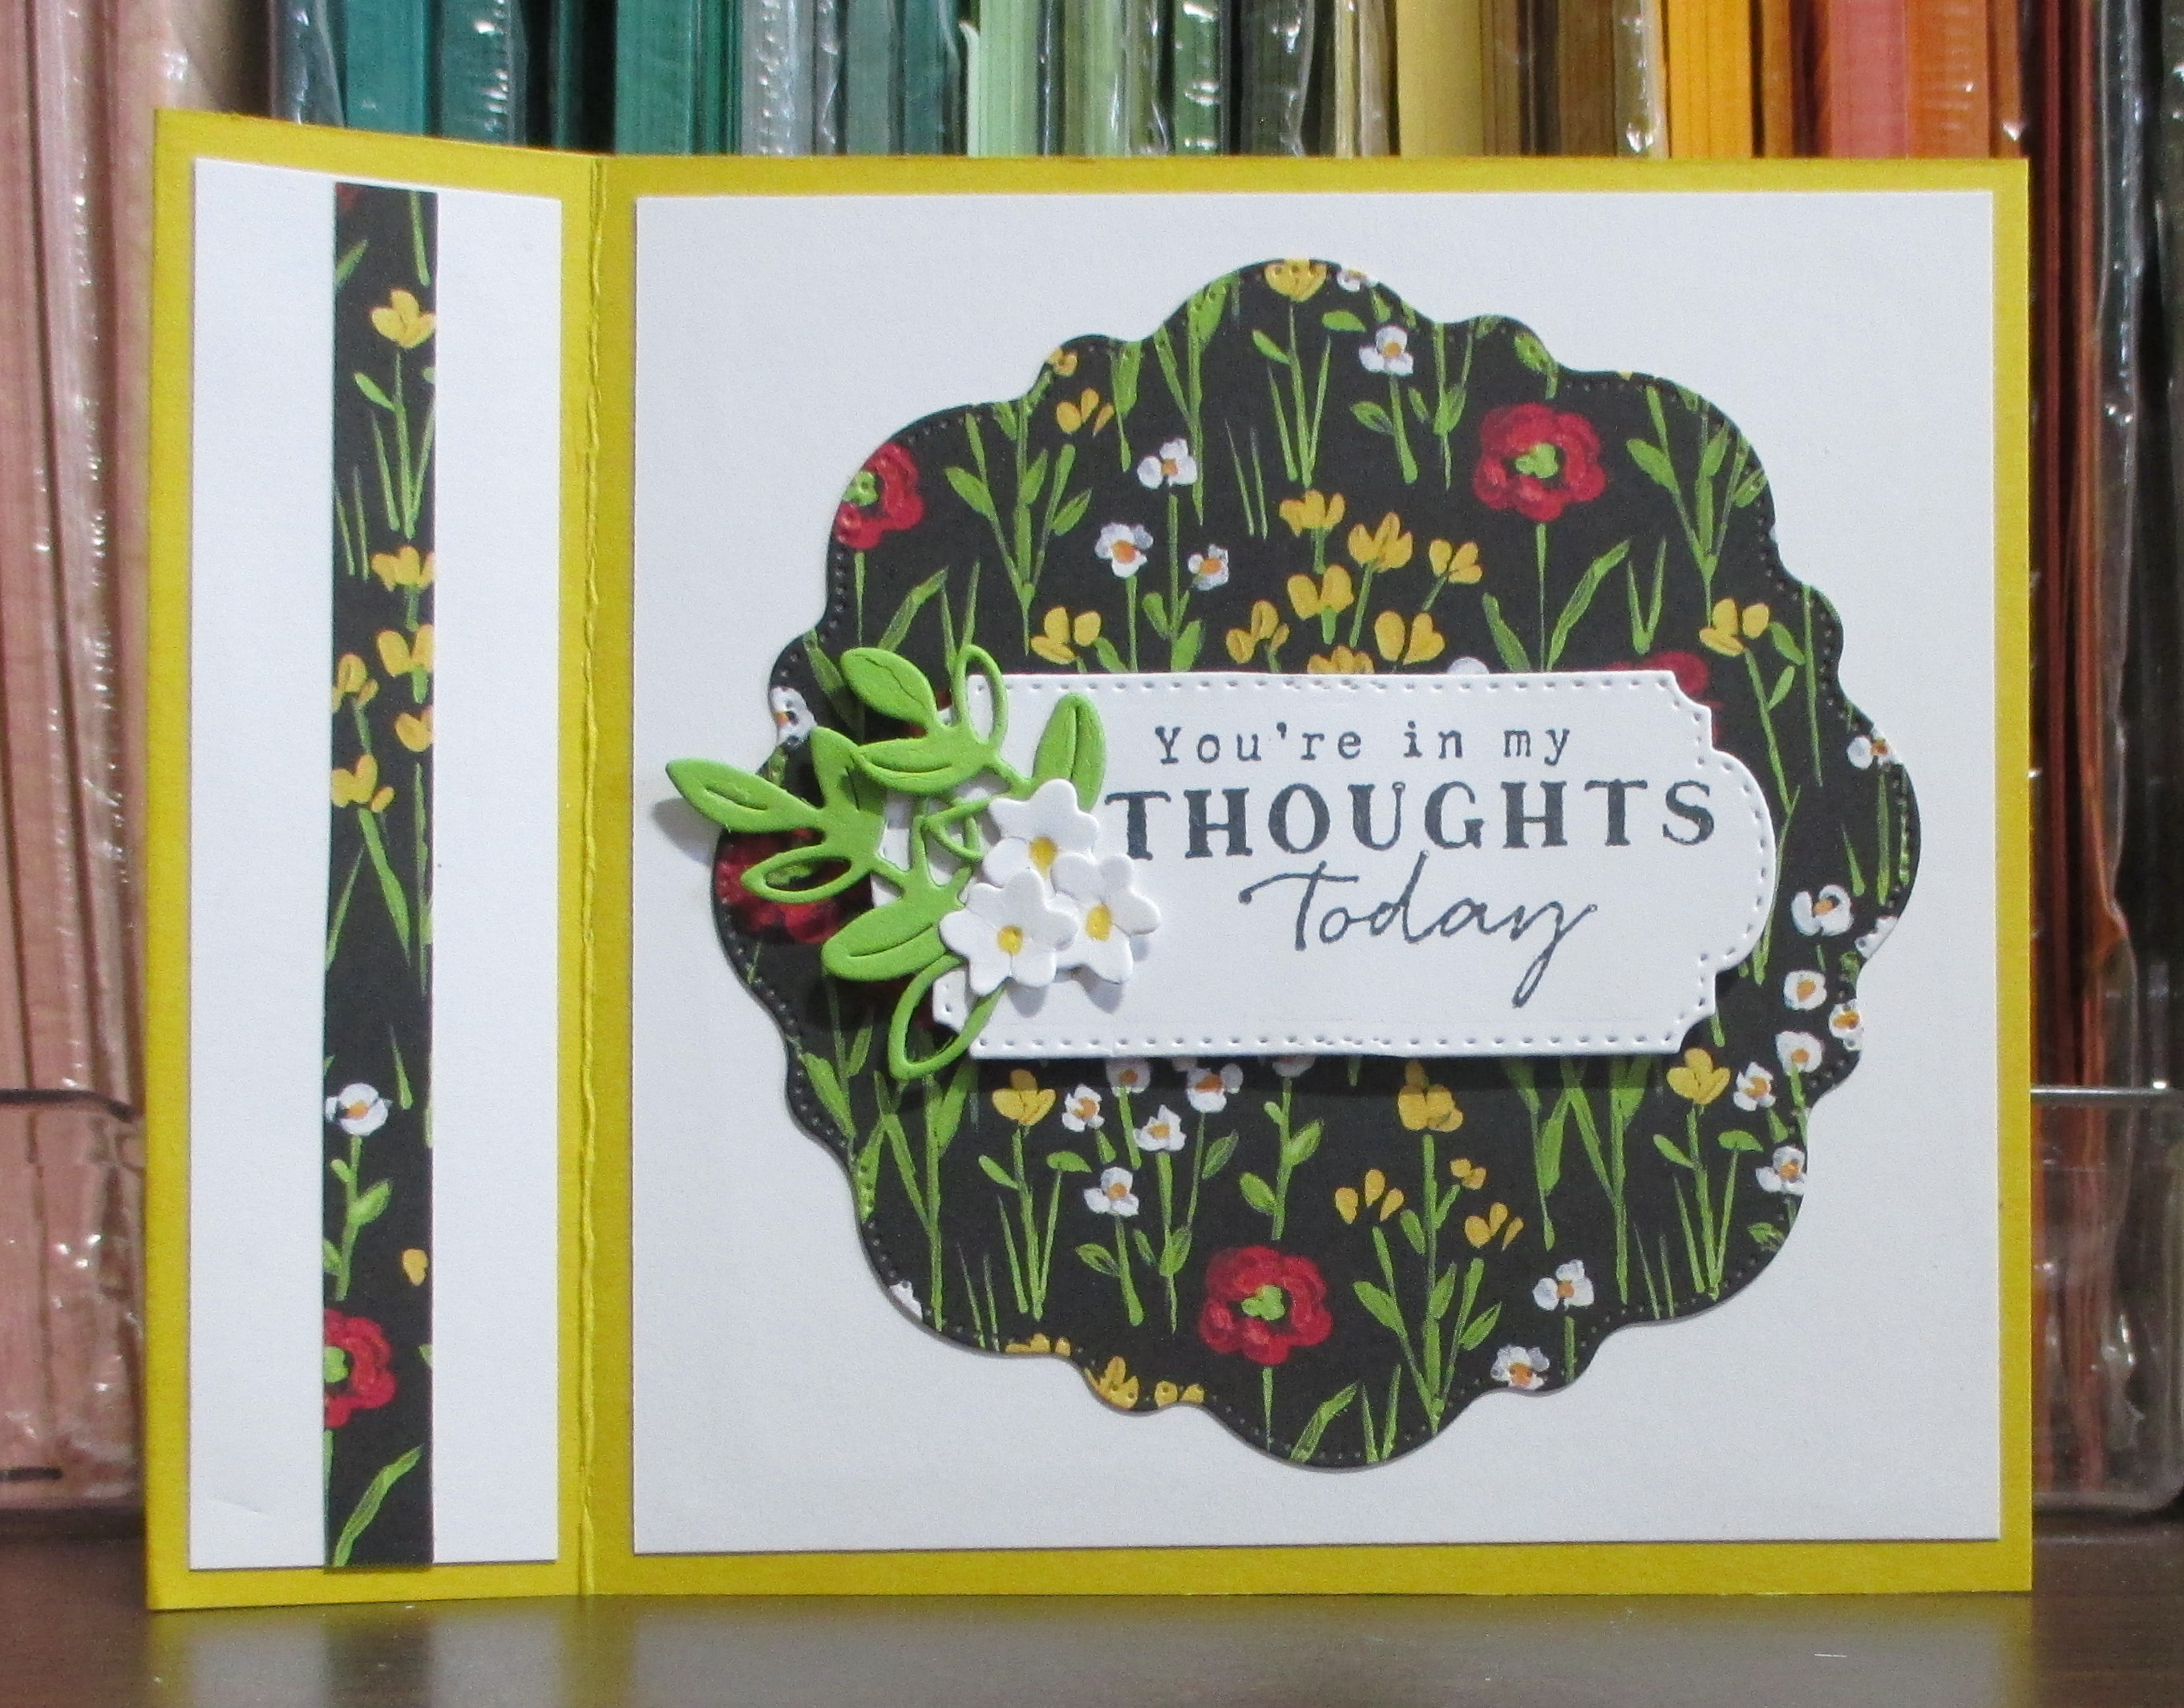
Last year my friend, Carol, gave me a card with this layout.  I decided to make this as my final Easter card for my grandchildren. The patterned dsp used was something I bought from Scrapmania, a store in Cedar Rapids, IA, but was similar in nature to what Carol had used.  The card base is card stock from Stampin' Up!.  The bunnies are from an unbranded die.  Below you can see the inside of the card.


The last picture here is the card from my friend that I CASED..................


Thank you for coming by today!

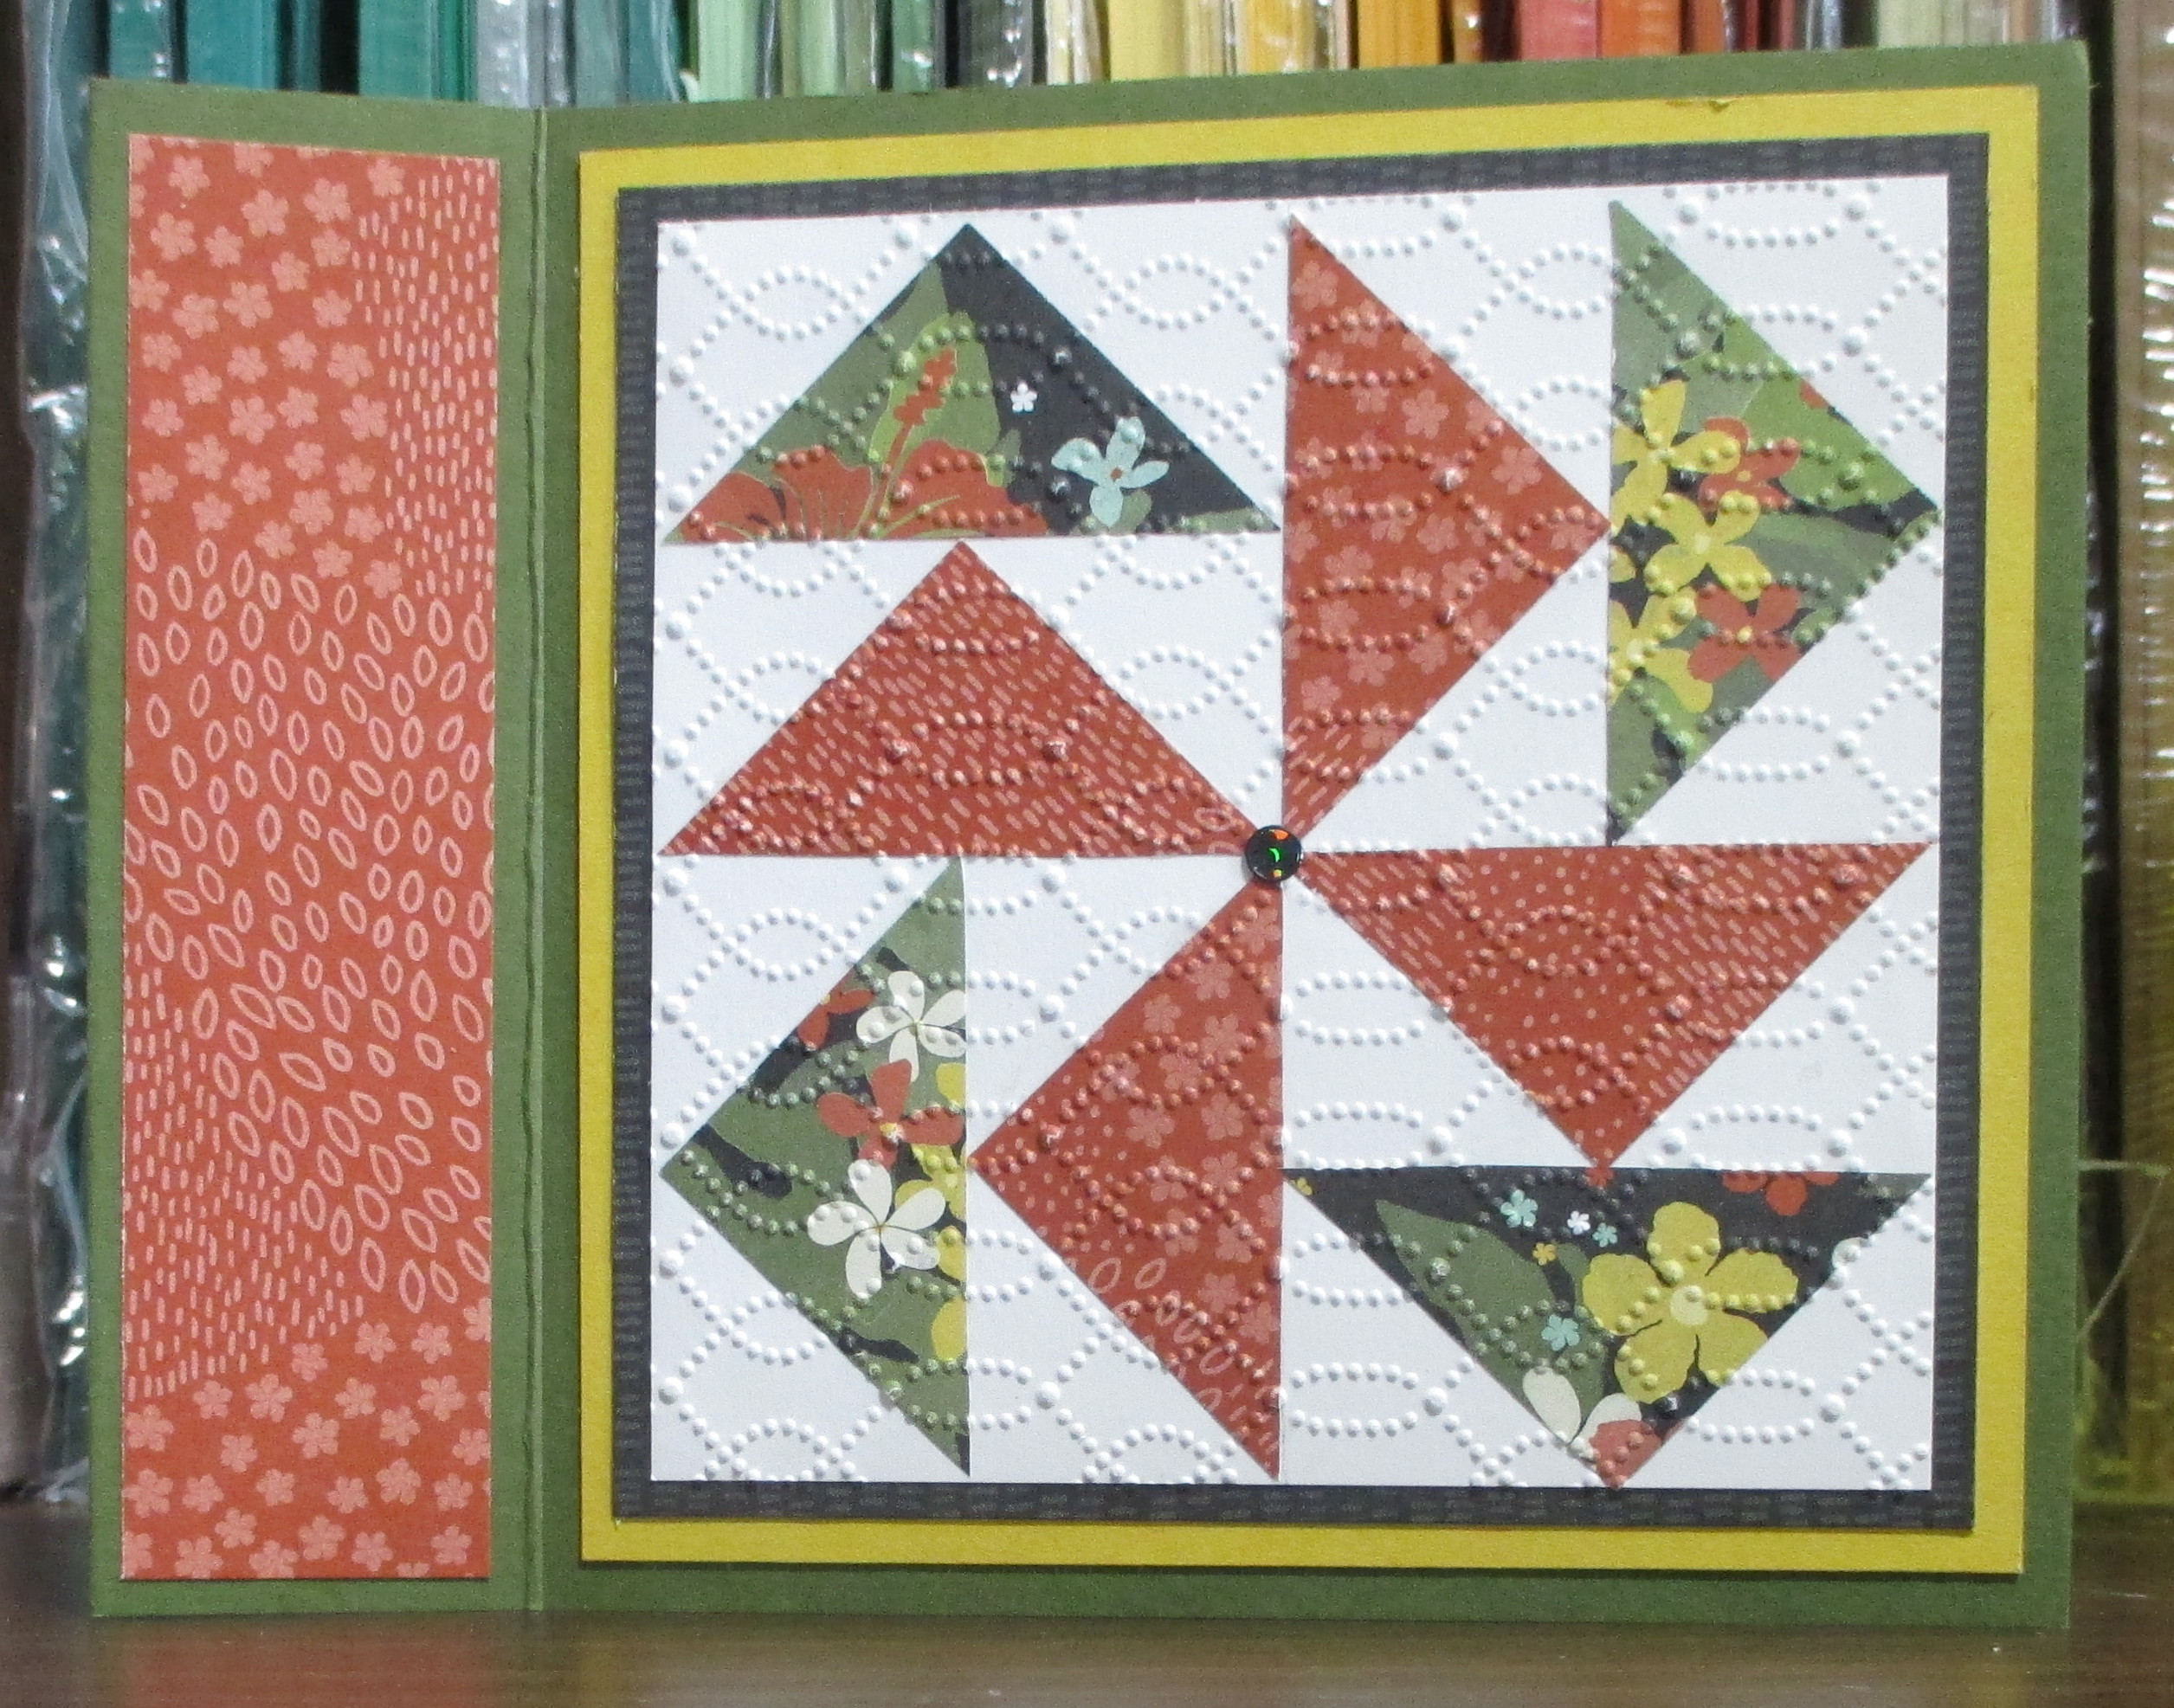
MEASUREMENTS FOR SQUARES:
Colored cardstock  1 3/4" x 1 3/4"  (cut 3)
White cardstock     1 1/2" x 1 1/2"  (cut 4  - one is for the back of middle square )

Inside:
DSP square 2 1/4" x 2 1/4" (cut diagonally for corners)
Colored cardstock 2 7/8" x 2 7/8" (my yellow piece)
White cardstock 2 5/8" x 2 5/8"


Thursday, March 14, 2024

FOR OUR GRANDSON


I always try to make the cards for Tucker so they aren't feminine.  I used the little bow ties from the Penny Black die that I used on yesterday's card.

The die is from Frantic Stamper.  Embossing folder form Stampin' Up! Grass was made with a Martha Stewart punch and the sentiment is from a Darcie's stamp.

Thank you for coming by today!

Wednesday, March 13, 2024

PENNY BLACK DIE


This card will go to Taryn, our youngest granddaughter.  It required working with a lot of tiny pieces, but I do like the way it turned out.  

Thank you fro coming by today!


Tuesday, March 12, 2024

CARDS FOR 2 GRANDDAUGHTERS


I got the idea of adding the bunny to this paper from something I saw on Pinterest. The dsp is from the Dainty Flowers designer paper collection.   I had the bunny in my "parts" in an Easter tote.   The egg is a sticker.  After adding one to the card, I discovered that the dsp design showed through the sticker. I carefully removed the sticker and chose another egg but added it to white card stock, cut it out.  I popped the bunny and the egg with dimensionals.

I also had this bunny stamped and die cut from last year so I used it in the same way as the card above.  

 Thank you for coming by today!

Monday, March 11, 2024

CUTE BUNNY


This is the third design that my friends and I made to donate.  The cards like this are going to the Independent Living Center where my mother lived for 9 years.  Once again, we made this in several colors.  The little sprig of flowers had been stamped 40 times and then I actually fussy cut them after they were colored.  I really like the embossing mat.


Thank you for coming by today!

Sunday, March 10, 2024

CARD FOR NURSING HOME


Since we make 50 cards for this facility, I wanted something that was very easy to put together.  I was able to use a computer program to print the "Welcome Spring!" and also the sentiment for inside.  That saved us a fair amount of time too.

Below you will see we did this card in several additional colors.


Thank you for coming by today!


Saturday, March 9, 2024


This is a card that we had made for one of the care centers several years ago.  Since we have added two more places since that time, we made this one again for the two new facilities.  I've always like this one.

Thank you for coming by today!


Friday, March 8, 2024

A NEW TECHNIQUE FOR ME


I ran a white piece of card stock through the 3D embossing folder.  Then instead of using the embossed side, I used the reverse side.  I used blender brushes to color the various area.  When the ink had set, I dragged a black ink pad over the entire area until there was a nice solid color.  This was so fun and I love the way it turned out.  Below is a second card I made using different colors.


 Thank you for coming by today!

Wednesday, March 6, 2024

TWO DUTCHMAN'S SQUARE QUILTED CARD


Both cards are done with the bookbinder layout.  


For this one, I simply reversed the colors of the dsp.


Very easy pattern to make.

Thank you for coming by today!


And here are the final four cards you get from  this  video by Karen Titus.    I may try to do this with some papers from some other collect...