Wednesday, May 31, 2023

THREE CARDS


I'm sorry to say I don't remember what designer paper this is, but I needed to get it used up.  The third card that isn't shown individually was already sent to someone. 

Thank you for coming by today!


Tuesday, May 30, 2023

A LITTLE BIRD TOLD ME.....


I have had the Momenta dies for these birds and the branch for years and don't think I had ever used them.  Well, it was time to let them breath!  

I cut them from SU So Saffron card stock and then sponged on some brown for the wings and bellies.  

Thank you for coming by today!


Monday, May 29, 2023

STAMPIN' UP! - Ever Eden designer series paper

A few days ago, I decided I just had to organize my designer series papers.  I shocked myself when I realized that I have over 80 packages.....some nearly full and some with just a few bits and pieces.  When we updated our computer/craft room, I bought some rolling carts to I hold 12 x 12 packages. I keep the papers in the original cellophane package to keep them organized but then have them in 18 drawers.  Twelve of the drawers have SU papers.  One drawer has Christmas/Winter 6 x 6 dsp.

I numbered the drawers and then took the papers out of a drawer and entered the name of them on a spreadsheet in one column and the number of the drawer in the column next to that.  One by one I went through each of the drawers listing the papers and the drawer number.  It really didn't take too long because I already had a list on the inside of each drawer.

I wish I had done it a long time ago because now when I want a specific pattern, I can look at my spreadsheet which has the paper in alphabetical order!  I love spreadsheets!  I can then put the paper back into the drawer so I can easily find it again!  Don't you love organization? 

I fell in love with this paper when Stamin' Up revealed it and I have been hoarding it because I have way too much of it left.  It is has highlights of gold in some of the papers.  When I decided to finally use some of it, I made the three cards below.


Around the same time this dsp was being sold, SU also had packs of "Expressions in Ink Ephermera" sheets.  I have been very stingy using the pieces but did use some on the card above and the card below.


 Thank you for coming by today!

Sunday, May 28, 2023

A SINGLE TULIP


The flower was made using "Flowering Tulips" stamps and "Tulip" dies.  There are 3 dies that make up the red tulip flower in addition to the dies to cut the stem and two leaves.  I found that the card stock is a little more heavy to use than I would prefer.  I watched THIS video by Susan Campfield to make sure I knew how to use the dies.

Thank you for coming by today!


Saturday, May 27, 2023

PLAYING IN THE RAIN WITH A FRIEND


Can't you just hear these two friends laughing and having a great time jumping in the puddles?  This was a really fun card to make.  These were fussy cut from one of the sheet of dsp.

(Can't help mentioning that this is the anniversary of the day I graduated from high school.  I'll always remember the date because my best friend got married 2 days later............and they are still married!)

Thank you for coming by today!


Friday, May 26, 2023

PLAYING IN THE RAIN


Like I said on the previous post, I really debated about buying these things.  But you may know how it is........when you see cards that others are making you think you have to have it so you can make them too.  Well, that was me!

Stampin' Up! has a great collection of papers and an embossing folder that has raindrops.  I fussy cut the clouds from one of the sheets of dsp and added them with dimensionals.  I made this card several weeks ago and modeled it after a card I saw on a video.

Thanks for coming by today!


Thursday, May 25, 2023

WARMER WEATHER MEANS FLYING KITES


Doesn't this little bunny look happy to see Winter in the rear view mirror?  I really debated about getting this set.  I make so few "cute" cards and decided that this one was worth buying.  The designer series paper background is from the "Rain or Shine" collection.  

Thank you for coming by today!


Wednesday, May 24, 2023

CLEAN AND SIMPLE LAYOUT

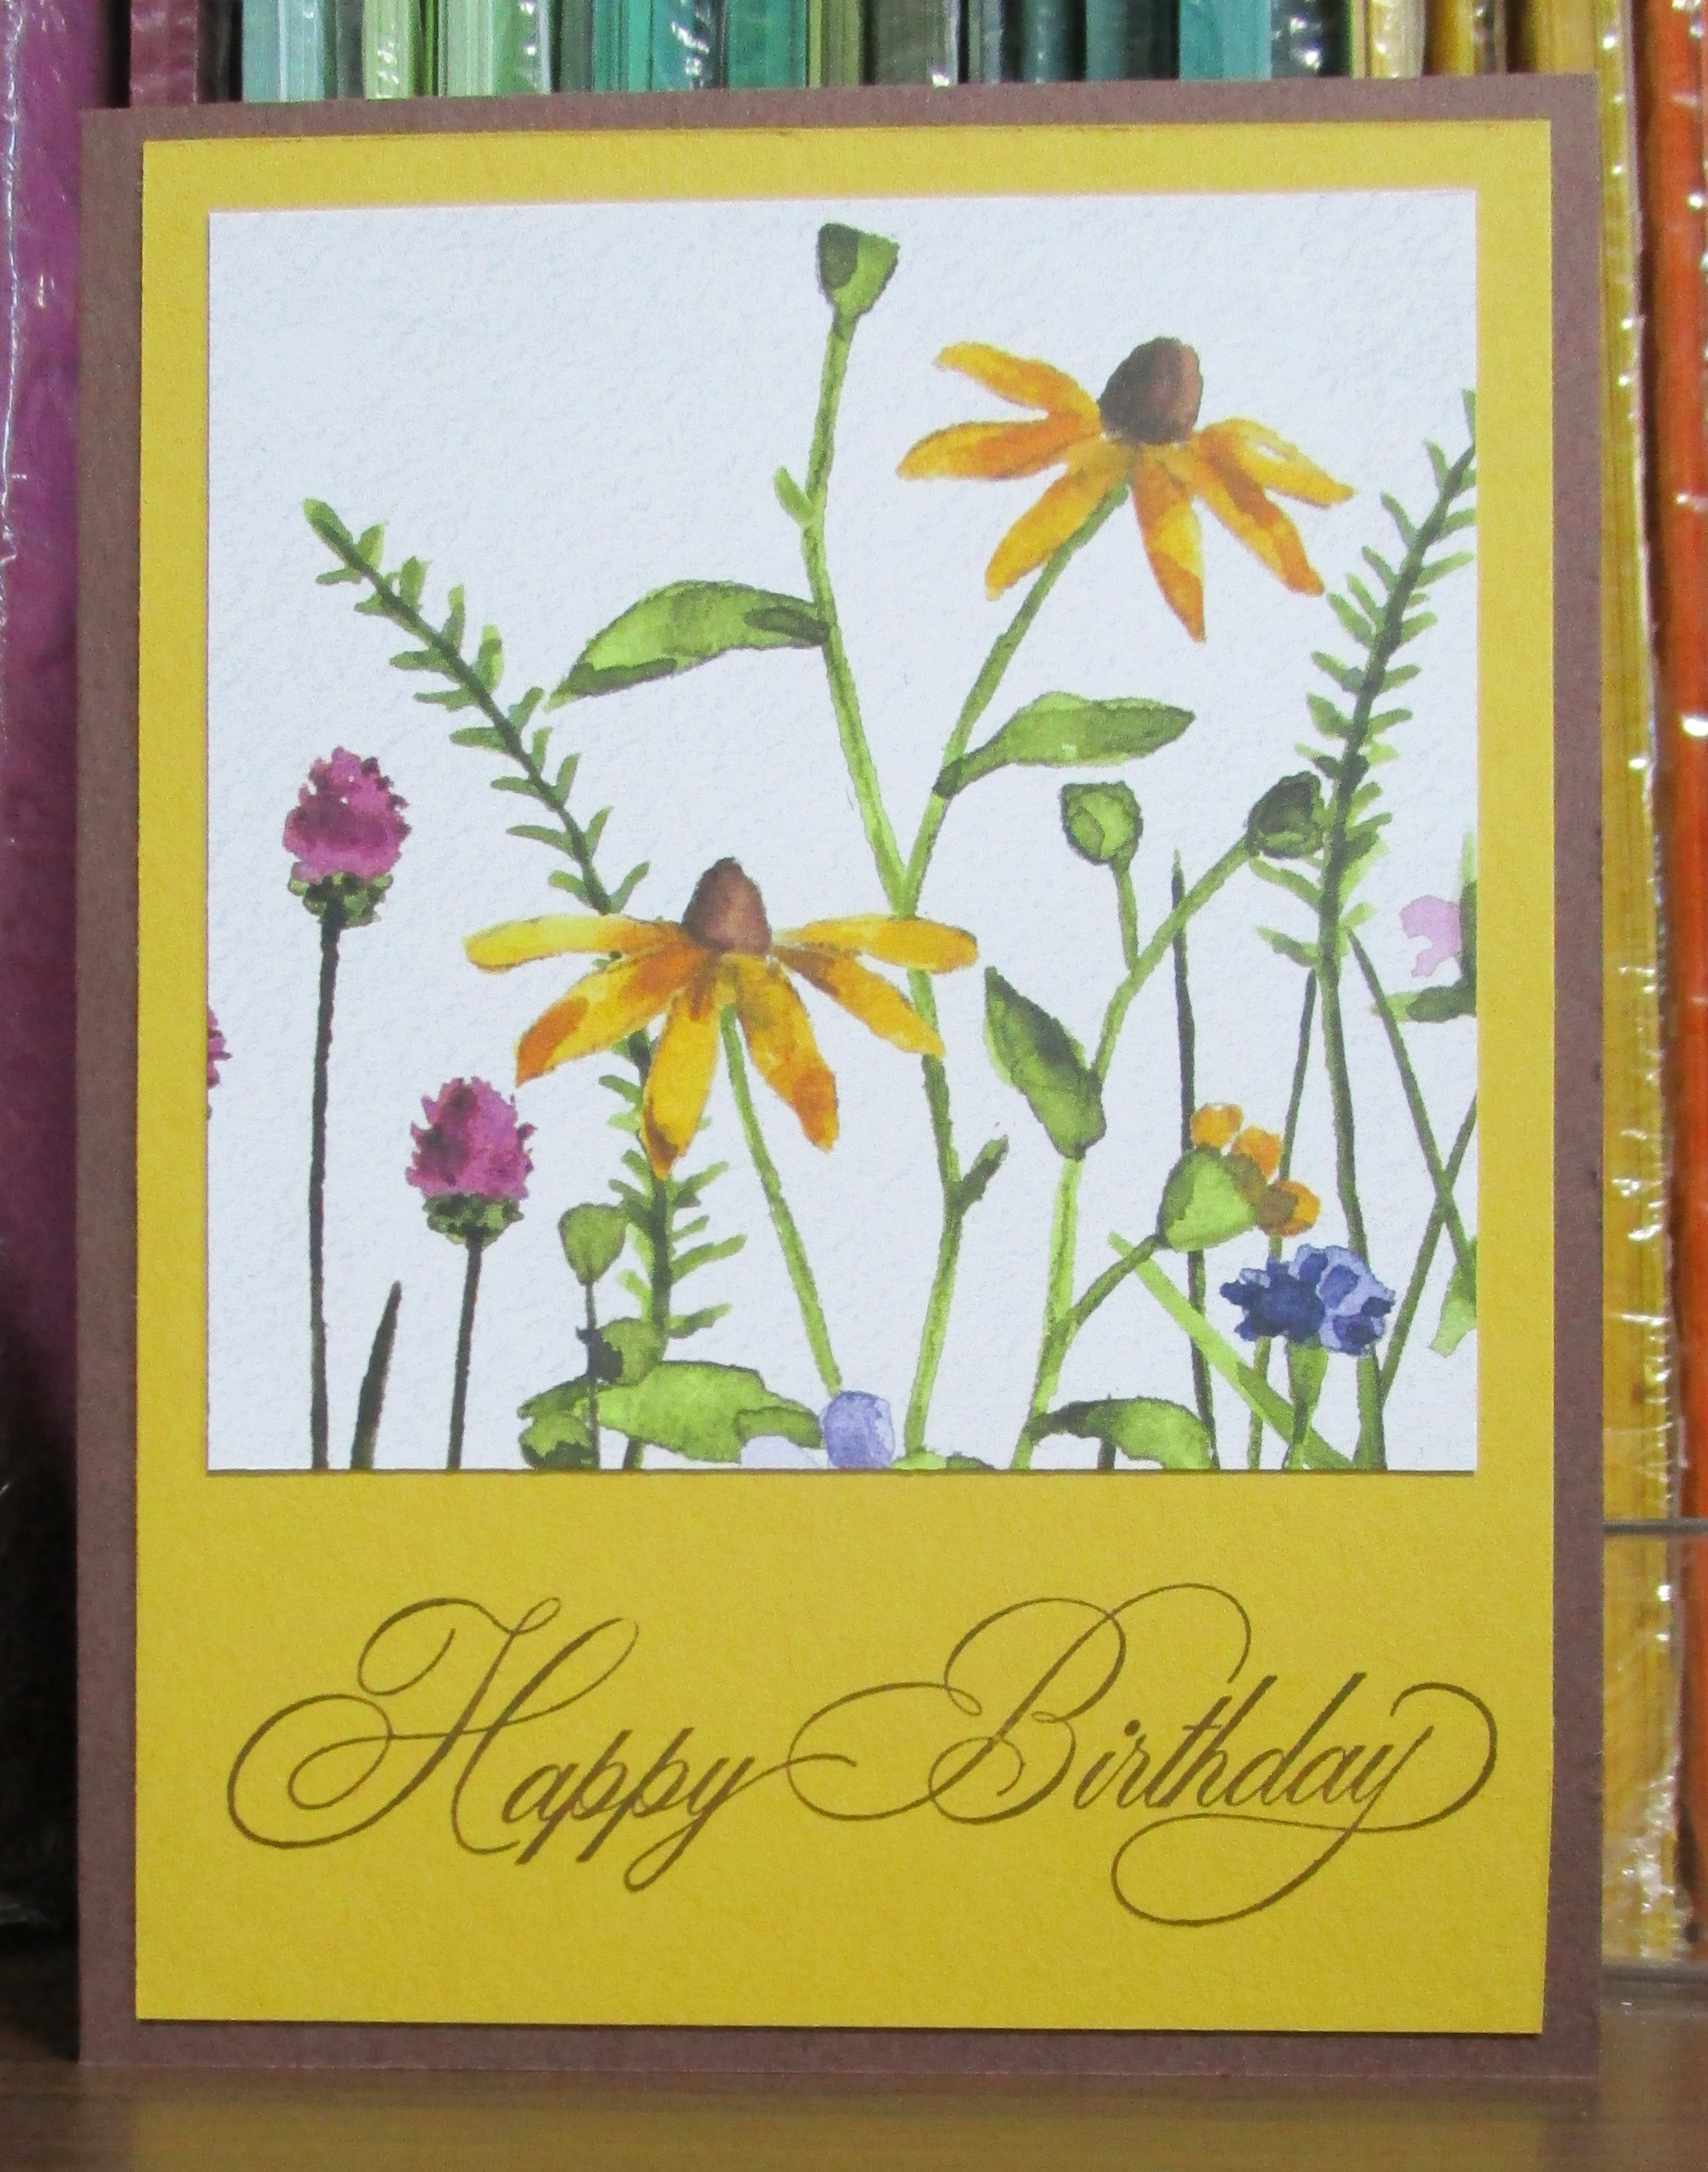
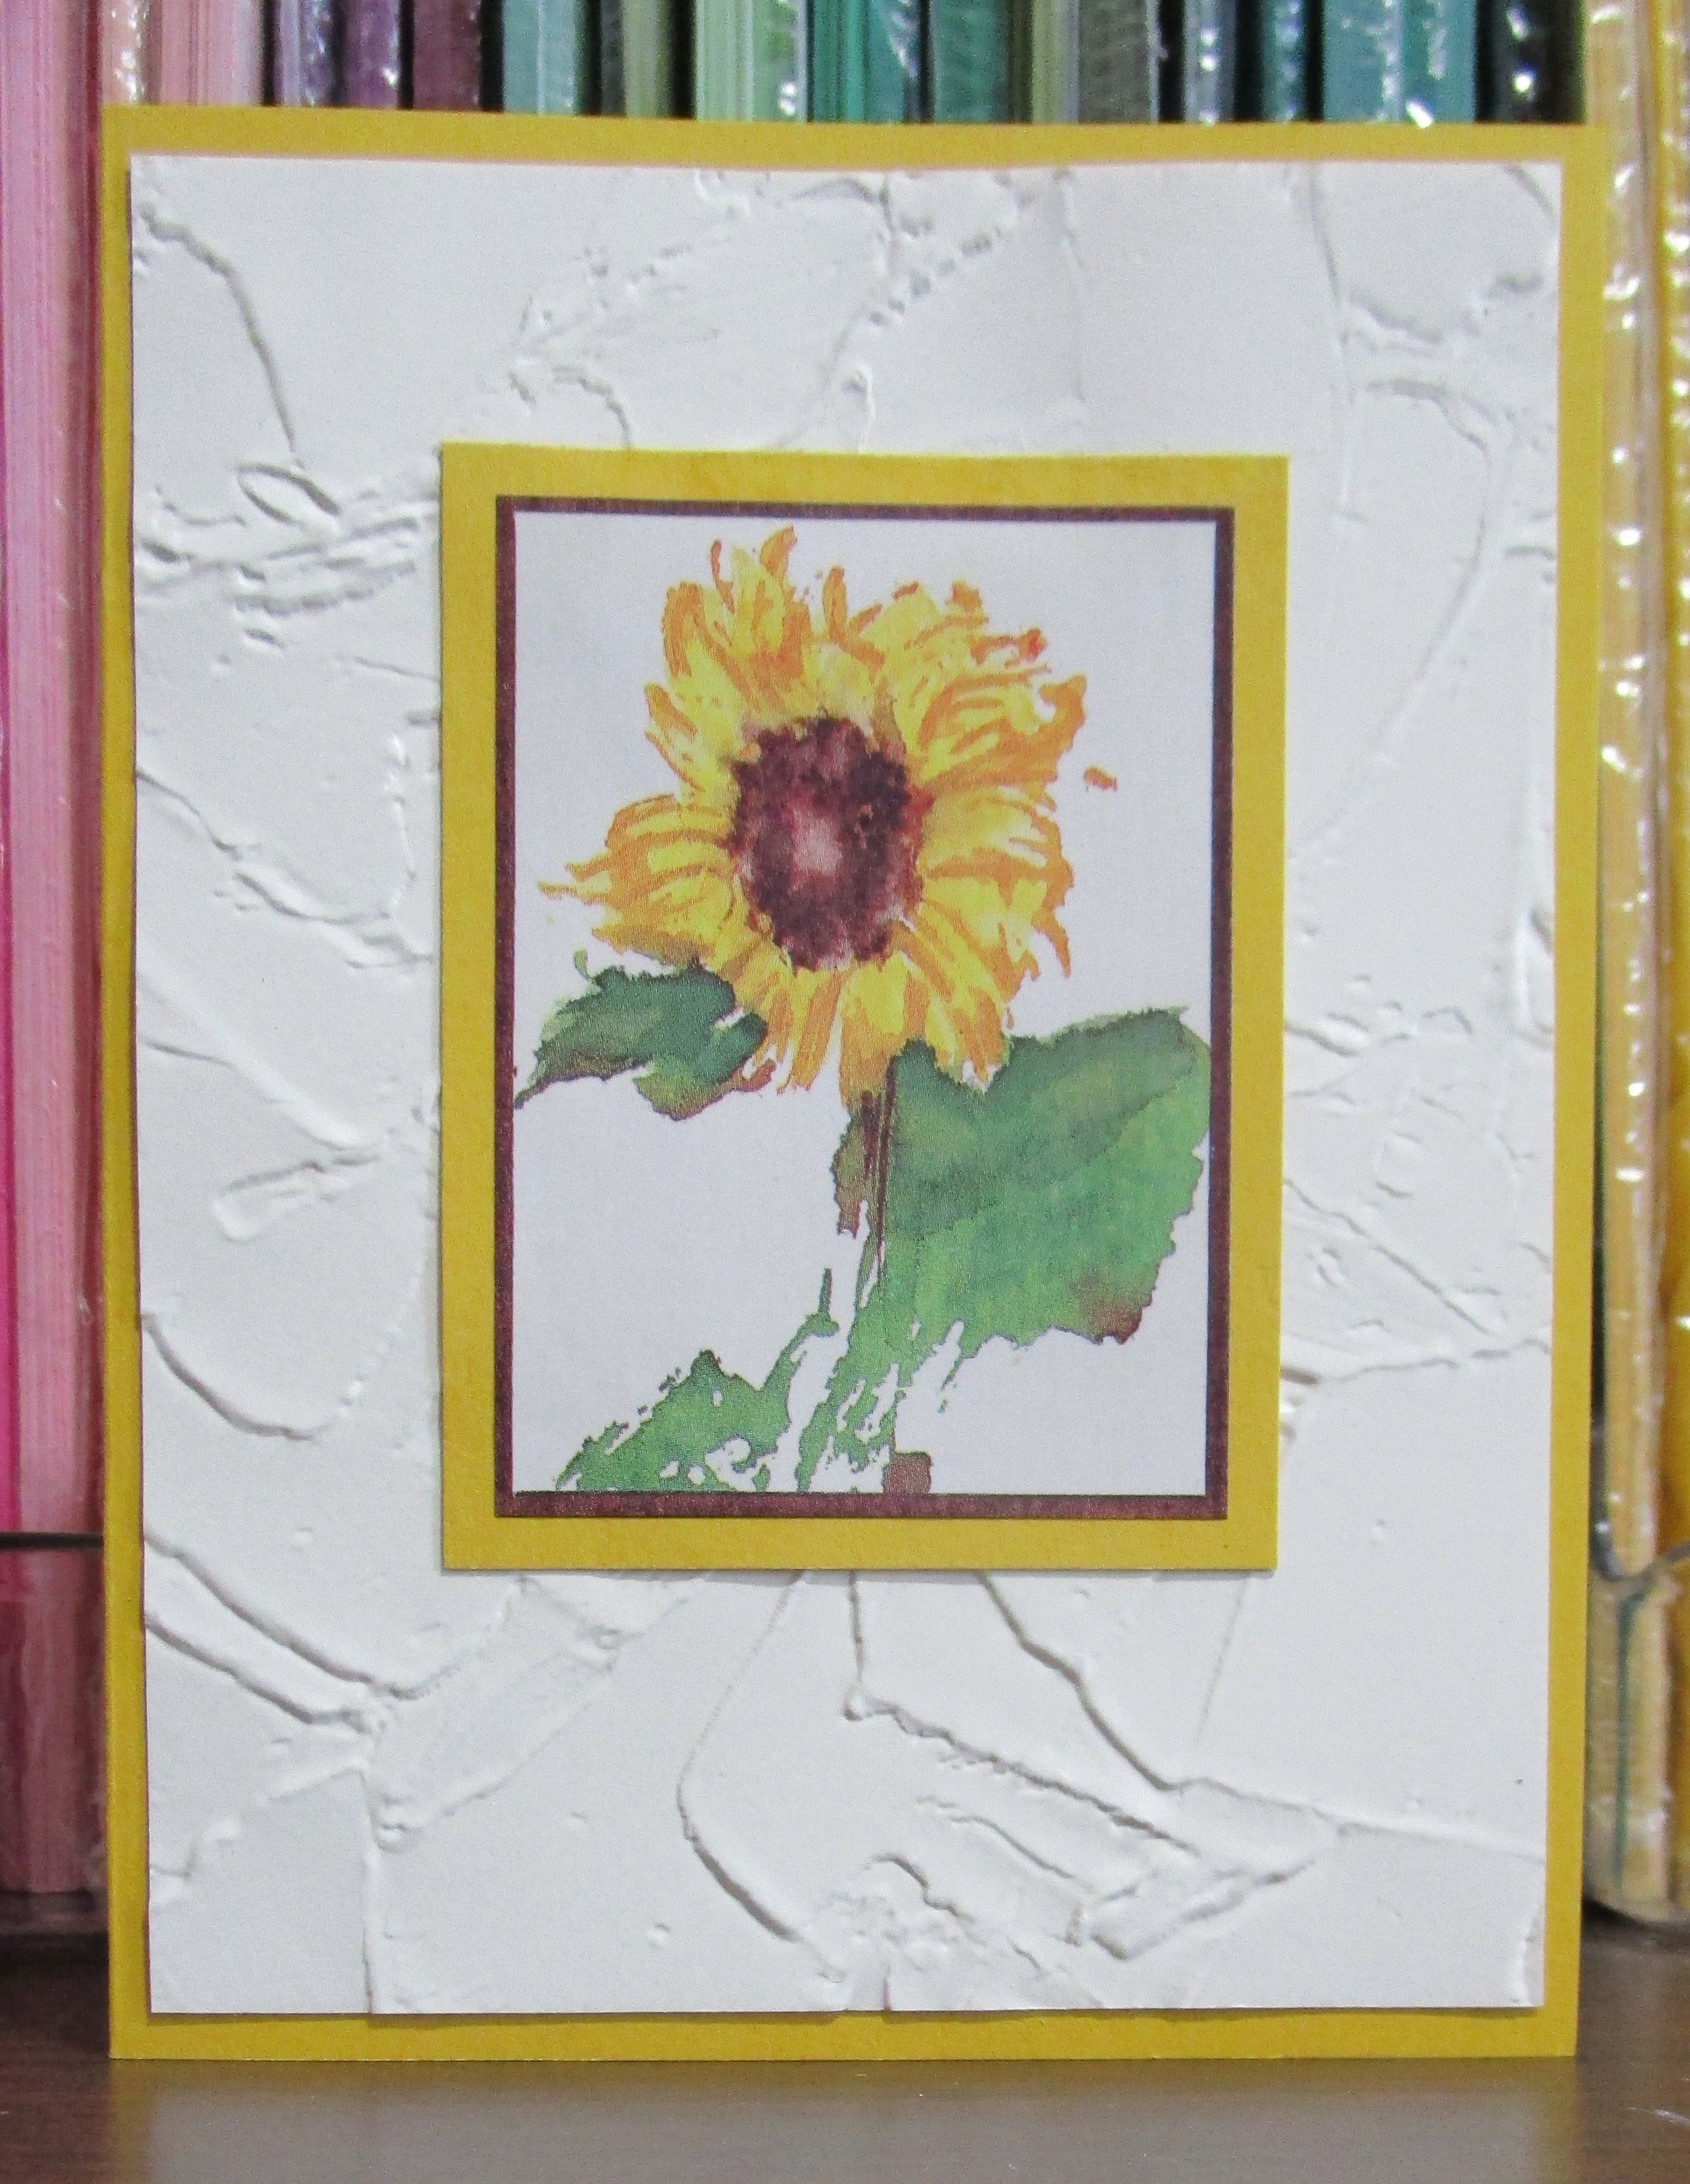
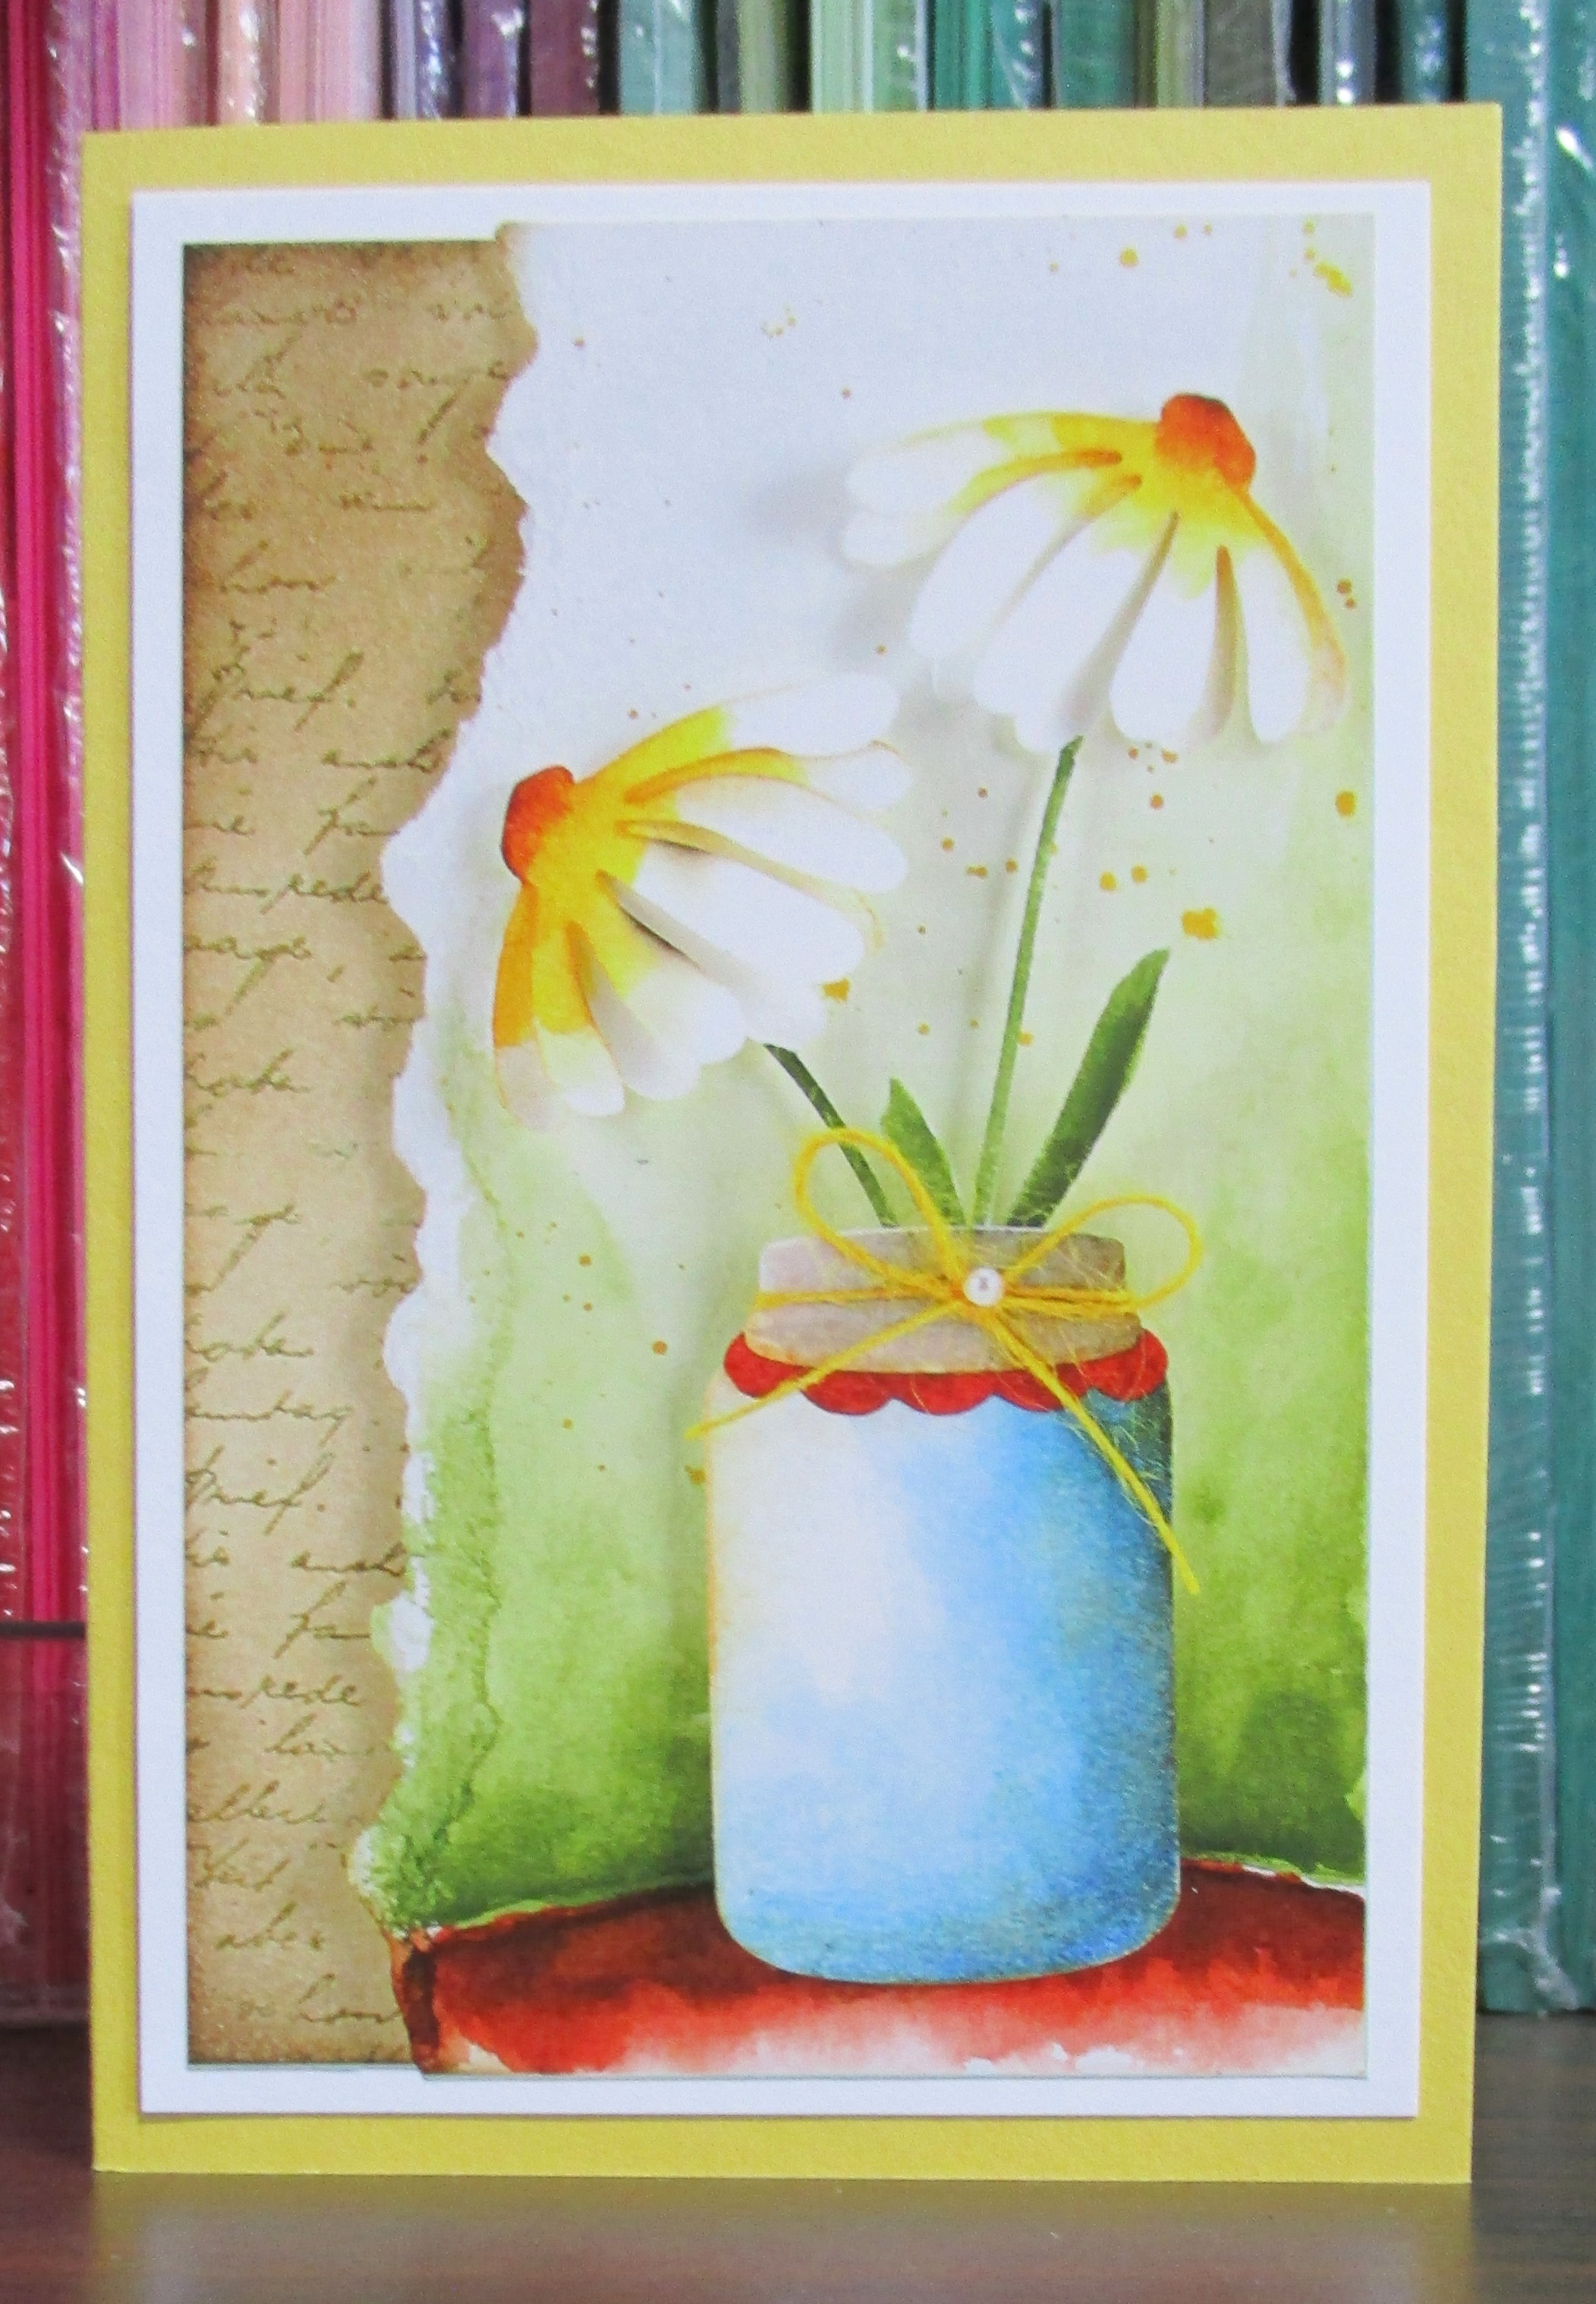
While going through more of my "hoard" of discontinued papers, I ran across a lonely piece of this pretty piece of Watercolor Wonder dsp.  


There was a big enough piece that I cut it for a vertical and a horizontal card.  I stamped the flowers on white card stock and then using blending brushes added color to coordinate with the designer paper.


Thank you for coming by today!

Tuesday, May 23, 2023

WITH DEEPEST SYMPATHY


Inspiration for this came from Pinterest.  I really like this one  I'm sure I'll use it again.

Thank you for coming by today!


Sunday, May 21, 2023

STAMPIN' UP! - Botanical Builder Framelits

The picture looks a little washed out but I used Mint Macaroon for the card stock and ink.  I had seen this design on Pinterest a couple of years ago and loved it.


Thank you for coming by today!

Saturday, May 20, 2023

STAMPIN' UP! IRIS

These are two more cards I made for our daughter to sell.


Thank you for stopping today!


Friday, May 19, 2023

2 MORE SYMPATHY CARDS

One of our daughters owns a Medicap Pharmacy and she has a rack of greeting cards which she normally orders from a company.  Recently she told me that she was short on Sympathy cards and wondered if I would want to make a few for her.  These are two of the ones I gave her.  We'll see how it goes.  Naturally I told her to keep any $ she collected on them.


 Thank you for coming by today!

Thursday, May 18, 2023

WITH HEARTFELT SYMPATHY


I had this matted sympathy piece in my card parts and decided it was time to use it.  I added it to the plain white card base with  dimensionals.  (One card part down.......many to go!)

Thank you for stopping by!


Wednesday, May 17, 2023

2 SYMPATHY CARDS

A couple of weeks ago I spent time scheduling my posts on my blog.  However, then I need to remember to take up where I left off!  As of now I have cards ready for the entire month of June saved in a folder but haven't scheduled them here on my blog.  

The two cards below are a "go-to" design I use for sympathy cards.  I normally make them with a shade of green, but decided to do one with Balmy Blue.


Thank you for stopping by!


Tuesday, May 16, 2023

BOHO INDIGO DSP


I stumbled across a video by Juli Baca (Sunny Day Stamping) making two cards at the same time.  It was a fun and different layout.  It can certainly be done just using scraps instead of cuttingup 6 x 6 pieces of dsp.  You can see her video HERE.

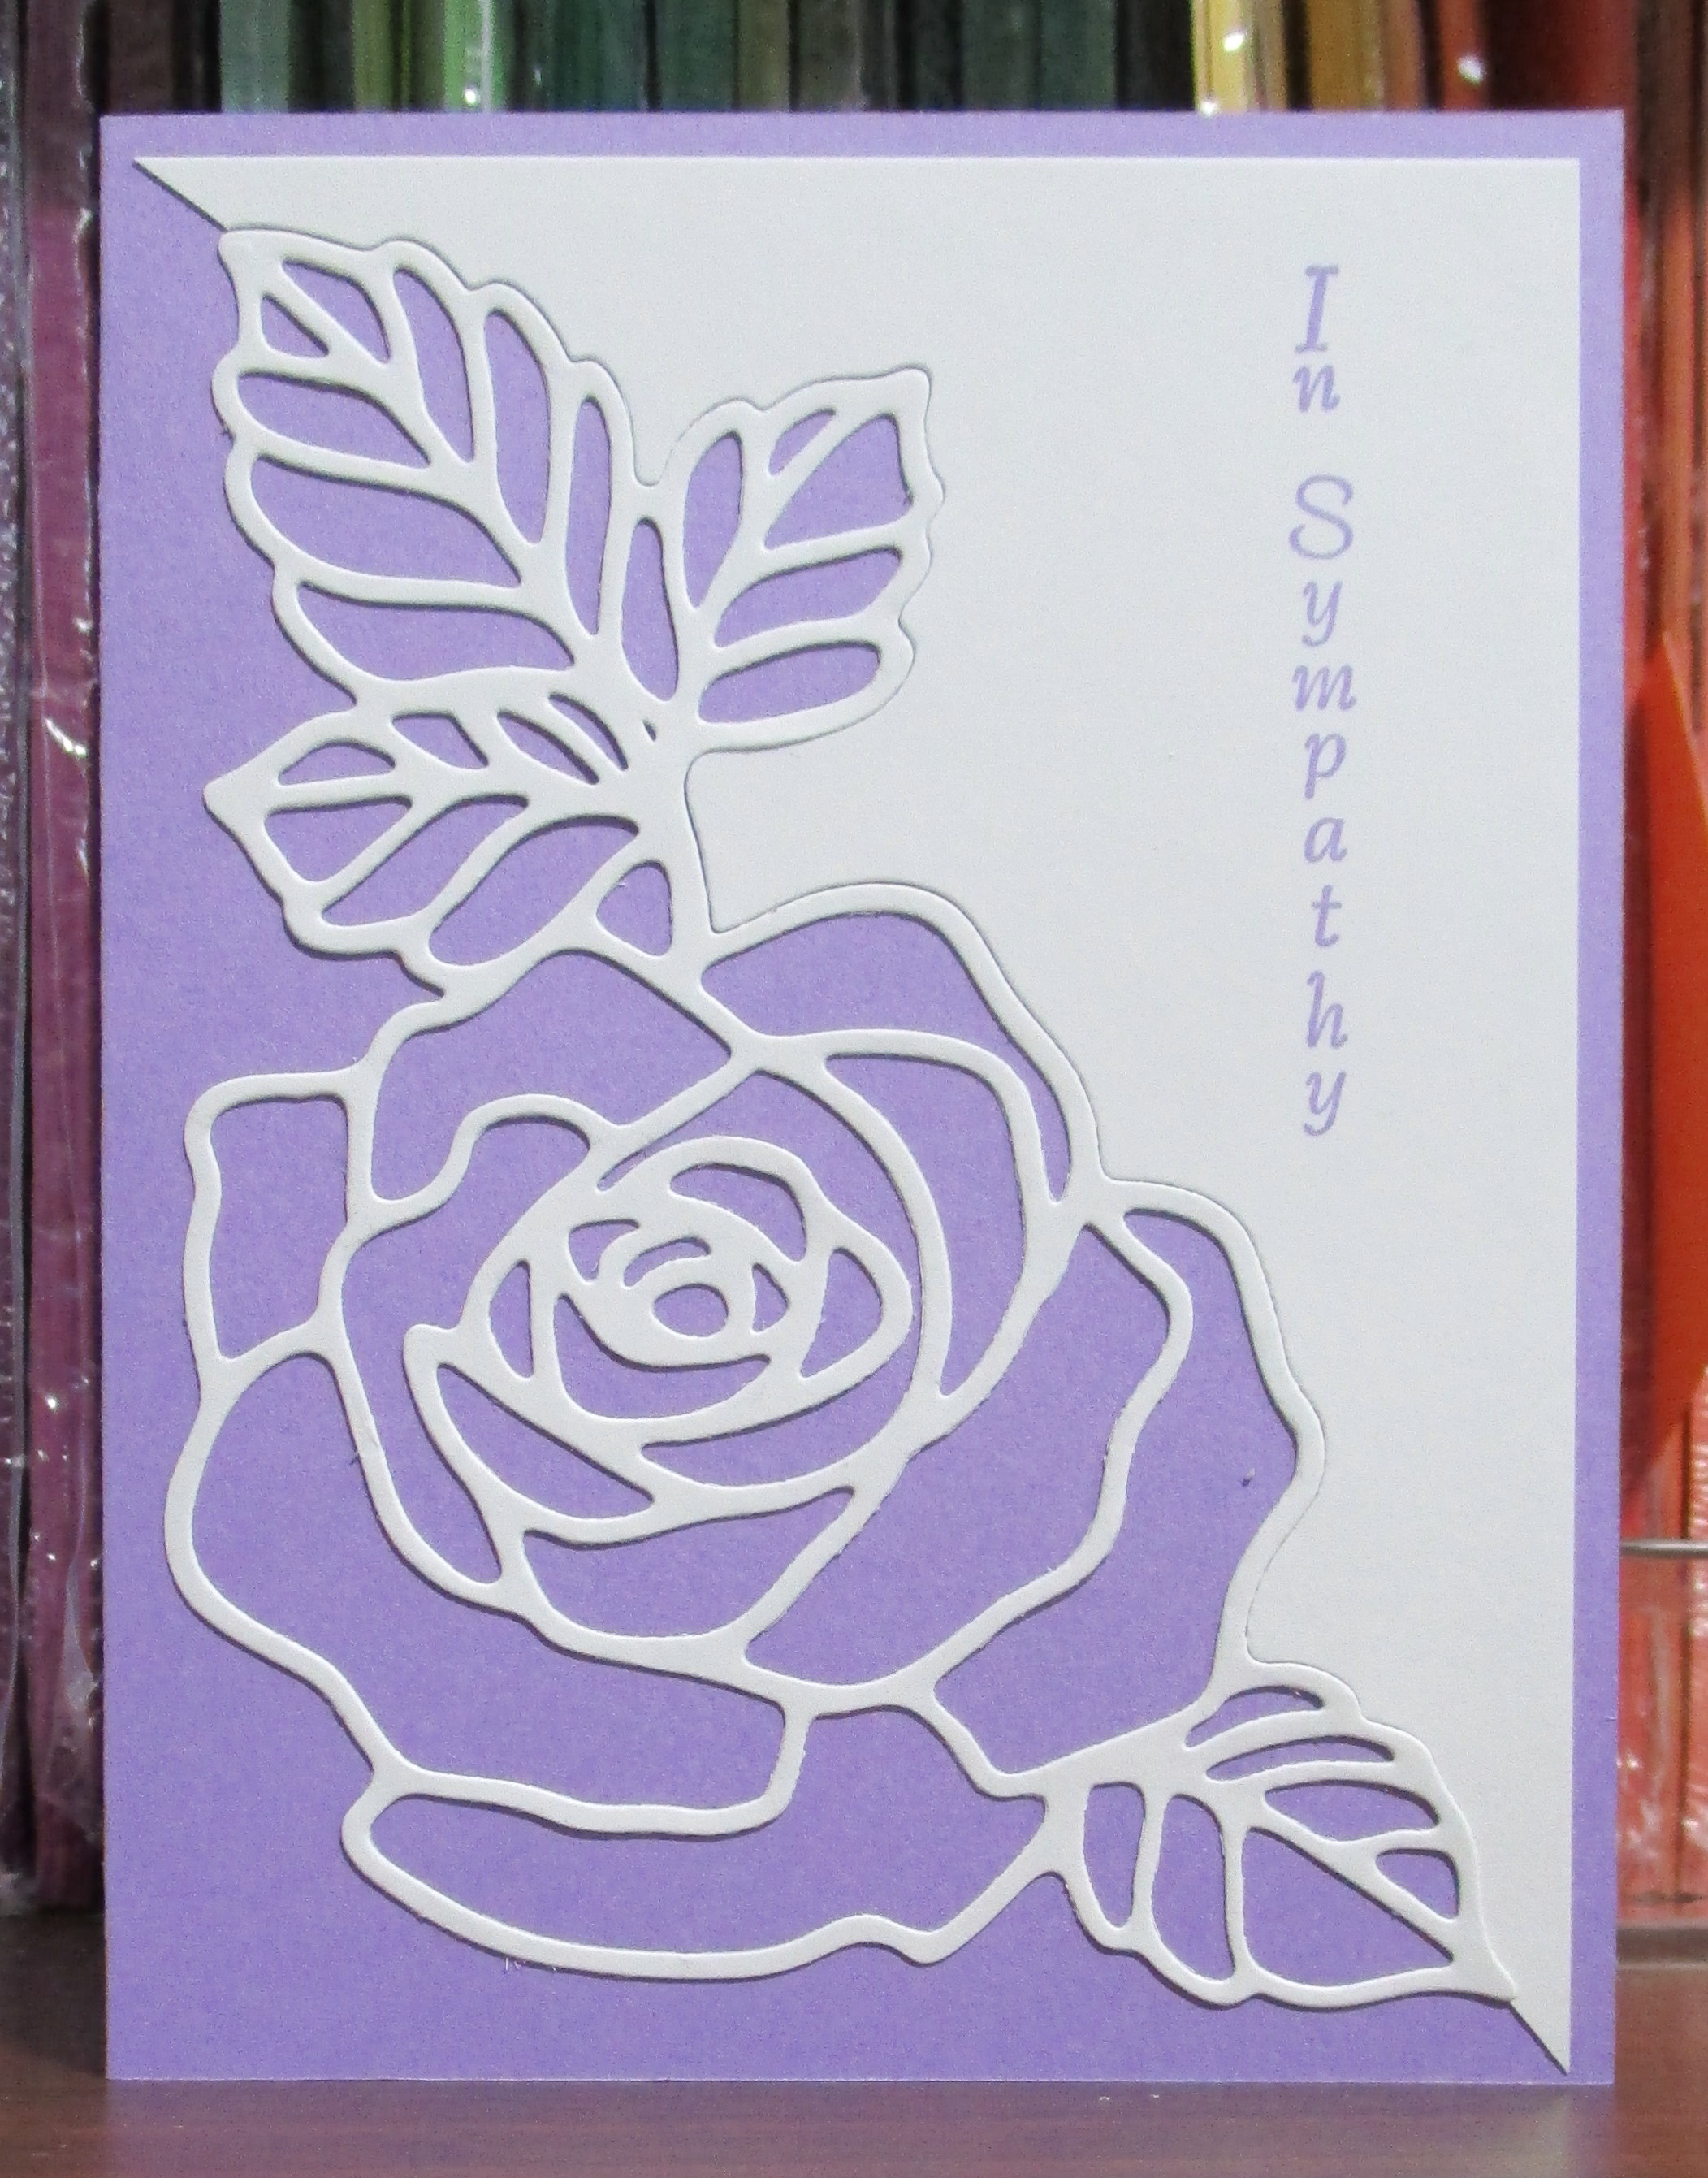
Since I wasn't sure if I was going to like the one I was going go make, I pulled out my stash of Stampin' Up! Boho Indigo dsp.  I have plenty of it.  I haven't added a sentiment to the front yet, but will do something when I decide how I'm going to use it.

Thank you for coming by today!

Monday, May 15, 2023

TERRI GAINES - A REAL WOW CARD!


Some evenings I spend a lot of time watching multiple videos on YouTube.  Terri Gaines is one of my favorites.  I watched her do this card and just knew I had to make one.  You can find her video HERE.  

I didn't add a sentiment to the front but added one inside (as seen below).  When you close the card, the left front panel tucks under the right front panel so things have to be lined up just right.


This card has already been sent off to a friend celebrating a birthday.  I'd really like to make another one because it makes such a beautiful presentation.

Thank you for coming by today!


Sunday, May 14, 2023

STAMPIN' UP! - Awash In Flowers


Another CASE............Kylie Bertucci had a card on Pinterest which provided the inspiration for this card.  This card not only used the dsp but also the coordinating stamp set.  I love those little gold butterflies!

Thank you for coming by today!


Saturday, May 13, 2023

STAMPIN' UP! - Awash In Beauty dsp


Once again, I'm using a retired dsp.  (One of the papers in this package even has designs that can be cut out with the coordinating die set.)

The piece I chose for this card had a great complimentary design on the reverse side.  I cut a piece that was 4" x 5 1/4".  After cutting and scoring the card base, I cut off a 1" strip from one side to use on the narrow panel on the right.  I then had to also trim off a narrow piece on the larger design panel to add to the front. I fussy cut one of the flowers from a scrap and added it with a dimensional.  The sentiment  piece looks crooked in the picture, but maybe it's just the angle of the picture.  The sentiment was actually added to the right panel........it then tucks under the flower to keep the card closed.

Thank you for coming by today!
 

Friday, May 12, 2023

STAMPIN' UP! - Fancy Floral dsp


The papers in this pack are so pretty and so different from any other papers I have.  The watercolor look and the combination of colors are so fun to work with.

Thank you for coming by today!


Thursday, May 11, 2023

STAMPIN' UP! - 2 Cards with Dainty Daisies dsp


Today's card is a CASE of one I saw made by Debbie Mageed (SecretStamper.com). I loved how she combined the frame from Framed Florets die set.  I changed mine up with a different sentiment and used it on a circle.

Thank you for coming by today!

Wednesday, May 10, 2023

MORE TULIPS


 I still had some of this pattern from the Flowering Fields dsp.  If you have ever made one of the "Spanner" (or "Bridge") cards, this is the same idea.  The difference is that you glue down the two panels on the left and right side.  The mid section is the only part that opens.  

I hadn't used the "Tulip" dies yet and decided it was time to give it a try.  I found that forming the tulips with card stock makes them pretty thick.  I did make a different card but used some thinner paper which made them lay much better.

Thank you for coming by today!

Tuesday, May 9, 2023

BOOK BINDER CARDS - 3 WAYS


It's the time of year to be using papers with tulips!  My own tulips don't lasts very long due to the windy days we tend to get, but I can enjoy them on these papers.


Using the same measurements and scoring, you get a different look by using the papers horizontally.


This tends to be the way I usually do book binder cards.  I must have been in a hurry to get some of this paper used up, because I wish I would have taken the time to add some sheer white ribbon to the left side before gluing it down.

Actually a fourth way would be to use this same format but turn it vertically with the designer papers.  I didn't think to do that.  Thank you for coming by today!


Monday, May 8, 2023

HAPPY ANNIVERSARY!


Today's card is a CASE of one I saw on Pinterest.  As I have said before, when I am trying to use up some of my papers, I turn to Pinterest for immediate ideas. That way I don't have to "think" about what to do with the paper.  I saw this one and knew I had to do it even though it was going to take a little more time.  (That paper is my very favorite from the collection.)

I had to do a little "guessing" for measurements.  The card base is 8 1/2" x 5 1/2", scored at 4 1/4".  I added a 4" x 5 1/4" piece of glossy gold card stock t o the front.  The dsp was cut to 3 7/8" x 4 7/8".  A 1" strip was then cut off each side of the dsp and flipped for the card.  I added the dsp to the gold piece with glue so that I had a little wiggle room but had to be very careful not to have glue ease out on the side.

The hexagon pieces were cut with the  SU "Hello Beautiful" dies.  The back layer is made with vellum.
After  cutting the Mint Macaroon leaves and the Blushing Bride sprigs,  I placed them on the card with the vellum on top but didn't attach the vellum.  Then I taped down the leaves/sprigs.  After stamping the sentiment on the pink hexagon, I glued it to the vellum.  That piece was then added over the leaves with dimensionals.

This card will be sent later this month to a high school friend who will be celebrating their 58th Wedding Anniversary.  I was in their wedding and always try to get a card off to them.

Thank you for coming by today!


Sunday, May 7, 2023

STAMPIN' UP! , MEMORY BOX DIE


The designer series paper on this card is from the Stampin' Up! designer series paper pack "Abstract Beauty".  I had looked for a paper I could use as a background for a white die cut piece.  The papers in that pack are a different size -  4" x 6".  I found a piece  that was smaller and thought it would work out great as a background for this die cut "Bella Bouquet" from Memory Box.  (There was a time before I got obsessed with SU that I was "obsessed" with Memory Box dies and they are needing some attention.)

Since the designer paper wasn't quite wide enough, I simply used an embossing folder from a much ignored Cuttlebug set of folders on the right edge of the card front.

Thank you for coming by today!


Saturday, May 6, 2023

STAMPIN' UP!, HERO ARTS AND ALTNEW


Besides trying to use up a lot of my designer series papers that have been retired, I have also been pulling out other products that haven't been used in a very long time.

The large SU Mint Macaroon die cut was made with a Hero Arts die that I have had for a long time and not used more than once or twice.  The small pieces and sentiment are from Altenew.  The "Abstract Beauty" designer paper, ink and die cut edger are from Stampin' Up!  I think they cooperated together very well.

Thank you for coming by today!


Friday, May 5, 2023

BLESSINGS OF HOME STAMP


Front


Back side of front


Inside

This card was made a few weeks ago. I made it as shown on a video but would change one thing.  Instead of having the designer paper on the inside of the card (as shown in the last picture), I would attach it behind the card front.  That way it would hide how the alcohol blenders bleed through the floral design.  

By adding it behind the front of the card it would make it more sturdy and you wouldn't have to worry about where to add the glue/adhesive for the design on the front.

Thank you for coming by today!


Thursday, May 4, 2023

BEST WISHES


I actually made this card a few weeks ago.  I had watched someone's video for the idea.  (It might have been one from Rita Holmes.) My card actually has the diagonal pieces going the opposite direction than I had planned but that's OK.  It still works.  

The card base is 4 1/4" x 11" and scored at 5 1/2".   Then a portion of the front is cut off at an angle. A  piece of designer paper is attached to the shortened front flap. The piece that was cut away is then cut into various widths of strips and adhered to the designer paper matching the angle of the card front.  (Is that clear as mud?)  

If I make another one like this I will attach the flower a bit higher than this one.  It was fun to make something different but then there are always things I would change.

Thank you for coming by today!
 

Wednesday, May 3, 2023

WONDERFUL WORLD DSP


This card is very similar to one that I posted a few weeks ago.  I believe I made that one into a sympathy card.   This is a different flower which I fussy cut from one of the sheets of this pack of papers.

Thank you for coming by today!


Tuesday, May 2, 2023

PENNY BLACK STICKERS - 11 CARDS!

For several years I sold items for the Penny Black Ink company.  They had some beautiful sheets of stickers and I have a lot of them left.  Over a couple of days, I pulled out some of the sheets and made 40 cards.  The colors in the stickers paired nicely with colors of the Stampin' Up! card stock.  There were multiples of the same stickers so here are some of the ones I made.


Thank you for coming by today!


BUNNY TREAT BOX

This  treat box  is great for just adding a few small Easter treats. Thank you for stopping by!