Thursday, February 28, 2013

FLUTTERBY WEDNESDAY #229


The challenge this week is to have a card with 3 or more layers and a butterfly or fairy.  This is a card I had started a few days ago but saw that it would qualify for the challenge by simply adding a little butterfly to it.  

My friend, Lynette, (My Stamping Addiction) had posted a card with this type of frame and using a similar flower design.  I loved the light blue she used on the flowers and how she popped the frame with foam dots.  I colored my design with Copic markers.

Thank you for stopping by!

Wednesday, February 27, 2013

THREE CARDS - ONE DESIGN


Since I haven't posted anything since Saturday (shame on me), I decided to give you three cards today for Monday, Tuesday and today.  (I'm not counting Sunday since I will consider that a day of reset.)

The flower and leaves are from an SU package which included the stamps and dies to match.  Die sets and stamp sets can be purchased separately.  I ran the front of the card through the Cuttlebug with the Swiss Dots folder which I chose because of the SU Polka Dot dp that I wanted to use.  I decided to just stamp the sentiment from My Sentiments Exactly with black ink right on the polka dot dp but it could have been done on a white tag of some kind and then added to the front.

I really like the SU Polka Dot papers.  Stampin Up has become a real favorite of mine in addition to the stamps I sell.  If anyone ever wants to connect with an SU demonstrator, I have connected with more than one and try to "support" both of them so I can give you some referrals.  :)

Thank you for stopping by!  Now here are the other two more cards I made which are similar but arranged a little differently:


The sentiment is from Penny Black.  I can order it for you and will send an order this week.


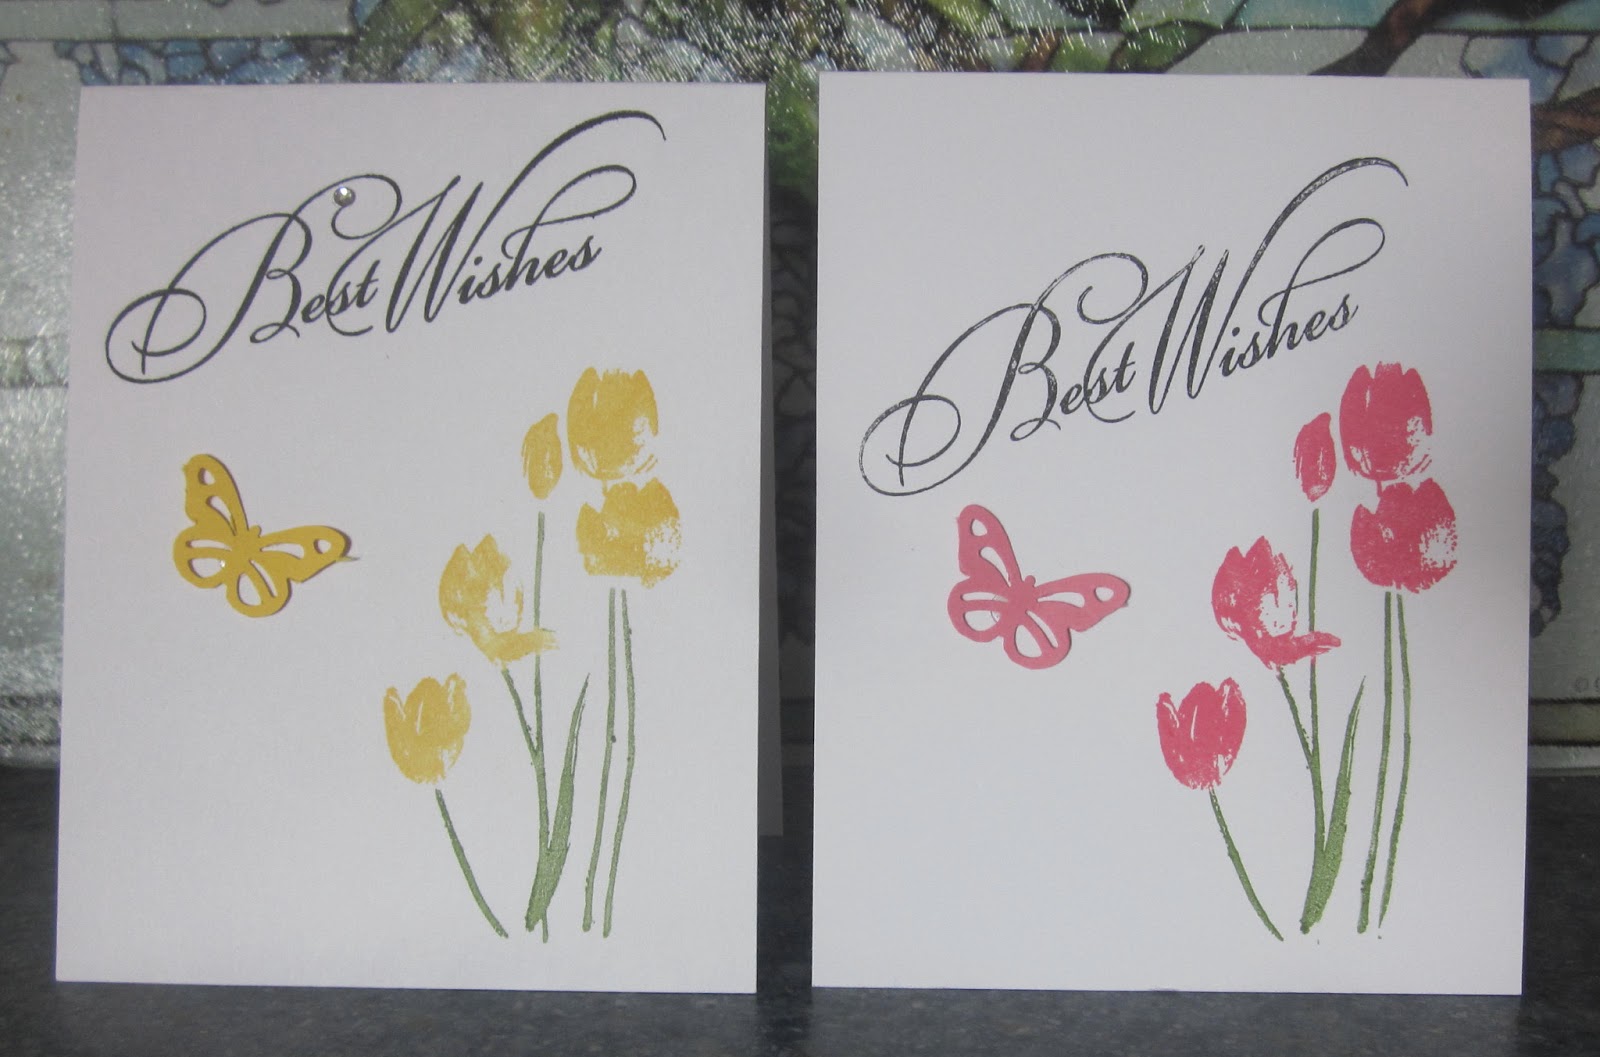
The sentiment is from Hero Arts but has been discontinued.  I can order Hero Arts items for you though and will send an order very soon.

I not only order from Penny Black and Hero Arts, but I also have access to Spellbinders, Copic Markers, glitter, glues, embossing powders, etc. etc.

Saturday, February 23, 2013

NEW PENNY BLACK SETS

Today instead of a card I have some new items from Penny Black.  Below you will find pictures of four new clear stamp sets.  If you see something you would like to order, just email me:  vboddicker@aol.com.


Friday, February 22, 2013

WONDERFUL DAY


Today's card is another design from the same Penny Black clear stamp set.  The card actually includes four separate stamps. Since they are clear stamps,  I arranged them on the white card stock the way I wanted the image to appear and then laid an acrylic block down on them.  They were inked with Memento Tuxedo Black Ink.  I colored the images with Copic markers.  

Stampin Up Dusty Durango card stock was used for the second layer and then that as added to a Wild Wasabi card base.

Thank you for stopping by!  Your comments are always welcome and appreciated!

Thursday, February 21, 2013

GET WELL SOON


Today's design was made with a Penny Black stamp from a clear stamp set.  I love the Penny Black Hedgehog designs! I colored the image with Copic makers.  The butterfly wasn't going to fit into the Spellbinders die that I wanted to use so I cut it out and then just applied it with a glue dot.  A portion of the card base was embossed with a Sizzix folder.  The sentiment is from a little 3-pc Inkadinkado stamp set.

If you have any questions, please let me know and I will get back to you. Just email me at the address on this page.  Thank you for stopping by!

Wednesday, February 20, 2013

BEST WISHES


As I am sure most of you are aware, CAS cards are what I do the most.  These were super simple.  The stamp is from Penny Black and I used Stampin' Up markers to color the stamp.  I added a little butterfly on each made with a Martha Stewart punch.  Then I stamped the "Best Wishes" at an angle.  I notice a very small smudge of the flourish of the capital "B" on the card using yellow.  So I added a touch of bling to the tip and that seemed to cover it up just fine.  

Flowers outdoors will have to wait because the weatherman is predicting 5-7 inches of snow for our area starting tomorrow afternoon.  Thank you for stopping by!


Tuesday, February 19, 2013

PURPLE PANSIES


If you live in an area that is cold and wintery, you are probably like me and ready to see the beautiful colors of flowers growing again.

I have had this stamp from Penny Black for a long time and I can't remember ever using it before.  It is a very easy design to color.  I stamped it on a piece of white cardstock and colored with my Copic markers.  The image was cut and embossed using a Spellbinders Classic Oval.  I put the oval back into the die and sponged a light yellow ink around the colored image.  (The yellow seems to be distorted in this picture.)  This left a white edge  around the flowers.  

I mounted the flower layer onto a piece which had been cut with the Spellbinders Classic Scalloped Oval and then onto the card base which had been embossed with the Cuttlebug Swiss Dots folder.

It is possible that Iowa is going to be in for snow again on Thursday, so I guess I'm going to have to wait a while longer to see any flowers outside.  Thank you for stopping by!

Monday, February 18, 2013

SAME DESIGN - TWO VERSIONS


A few days ago I wanted to get a card made that I could have on hand for a man's birthday.  I made the above one-layer card.  The top could still use something - maybe a couple passes of a brown twine.  I will probably use it for someone but decided to make a second one similar to it.

This is the second version using the same design  I just trimmed it down so the layer could be added to an SU Chocolate Chip card base.  I also rounded just the top two corners of the top layer and added a strip of grass from a Martha Stewart punch.  I like this one much better.

Thank you so much for stopping by!

Sunday, February 17, 2013

BABY BOY CARD


Another very simple card today.  I cut a piece of dp to fit the A2 card from.  Using the Spellbinders Classic Scalloped Oval I cut a piece of white card stock and then edged it with a light yellow ink.  The giraffe and the little star are dimensional stickers from K&Company.    

I chose this dp to go with the sticker because of the sentiment I used inside the card.  The sentiment says "Twinkle, twinkle little star....what a special boy you are".  Although I would probably use this for a baby card, it could also still be fine for a little boy's birthday card.

Thank you for stopping by!

Saturday, February 16, 2013

SIMPLE SATURDAY


This is about as simple as it gets.  The card base was embossed with the Swiss Dots folder.  I took a strip of dp and edged it with a Martha Stewart punch.  The flower is a dimensional sticker from K&Company.  Now if I need a card at the last minute I have something to send for various occasions.

Thank you so much for stopping by!


Friday, February 15, 2013

CHILD'S CARD


Valentine's Day is over so  it's time for some non-holiday cards......although I'll need to get busy with Easter cards before too long.  I'm not sure who is going to get this card yet but I hadn't used the stamp set and I'd had it for a long time.

This card base was embossed with a Sizzix folder.  I used stamps from a Sandylion set.  The designs were stamped onto a piece of white card stock and colored with Copic markers.  I added a strip of grass and butterflies made with  Martha Stewart punches.  Tiny pearls were added to the butterflies.

I mounted the design onto a plain lavender card stock and added to the card base.  Thanks for stopping by!

Wednesday, February 13, 2013

BEAUTIFUL ROSE


I didn't have a new card made for today so I pulled this one out one that had been posted in the past.  The flower is made with a 3-step stamp from Kitchen Sink Stamps.  Tomorrow I will post one last Valentine for 2013.

Thank you for stopping by!

Tuesday, February 12, 2013

PAPER PIECED VALENTINE


Somewhere I saw a card with a heart using this type of design.  My mother used to make beautiful quilts and this kind of design made me think a little of the quilts she made by sewing various designs of fabrics together.

I chose 5 coordinating papers from a 6 x 6 pad.  Then I put all five layers into the Cuttlebug to cut with the Spellbinders Scalloped Heart.  After they were cut and stacked I cut them apart using the same lines on all five.


The next step was to just shuffle them around so that one of each pattern was on each heart.  These pieces were all mounted on a plain white heart as a base.  These are the other four combinations.

My mother had asked for a Valentine that she could send to one of my cousins.  I added a die cut lacy heart which was made using a Cheery Lyn Designs die.  These were mounted to the front of an A2 card,

Thank you for stopping by!

Monday, February 11, 2013

3 VALENTINES


I had cards in my folders ready to use for postings on Saturday and Sunday but somehow those days went flying by and I didn't get them done.  Now Monday evening is here.  I didn't want to let today slip by without posting something so I am showing you three versions of Valentines which I made using the same embossing folder.

Recently I purchased the Stampin' Up Honeycomb embossing folder because I got some ideas for it on various blogs.  This is just a one-layer card.  I embossed only about 2/3 of the card front, scored three lines above the embossing, added some dimensional heart stickers to various sections and tied a ribbon around the portion of the card that was not embossed and then stamped the sentiment on the portion of the card front that wasn't embossed.  This is a "top fold" A2 card.


This was done like the first card except I tied a ribbon around the top of the card which was not embossed.


And for the third card, I embossed the entire front of an A2 card, added some dimensional heart stickers and stamped some mini sentiments in four of the sections.  I  also added a sheer red ri!bbon to this side fold A2 card.

I wasn't sure whether I would like the Honeycomb embossing folder but I can see possibilities for it now that I have used it on these Valentines.  Thanks for stopping by!

Friday, February 8, 2013

FLUTTER BY WEDNESDAY #226


My friend, Harriet, has made cards using this technique and I love the look of it.  Her card that inspired me to do this was actually a one layer card and the oval was sponged right on to the white card base.  For this card I used the oval which had been cut out for the mask on the example shown at the bottom of this post.  The one below is more like her card.

First, using VersaMark ink I stamped the design onto the oval and then heat embossed with white powder.  Next I sponged the Baja Blue and Old Olive ink over the embossed design.  I took an old white rag and rubbed the ink from the embossing.  Then I simply added that layer to a Spellbinders Classic Scalloped Oval and attached the butterfly with a glue dot. 


The colors are actually darker than this but I could not get the lighting right.  It almost looks like I used a flash and I didn't.    Anyway, this is a technique I will be using a lot more often.  Various color combinations will be very pretty and I think doing the embossing with black will also give a great look.

Thank you for stopping by! 

Thursday, February 7, 2013

HAPPY BIRTHDAY, TUCKER


Today our grandson, Tucker, turns 7 years old............7 on the 7th. Although I believe I posted this picture earlier when I made it at an SU workshop, I'm sharing it today for Tucker.  His other Grandmother lives on a farm and Tucker enjoys going there especially when it is harvest time.  He loves riding in the enclosed cab of the combine.  A farm card just seemed so appropriate for him.  I'm grateful that he also enjoys coming to our house in town though as well because we have a lot of fun here too.

Thanks for stopping by!

Wednesday, February 6, 2013

THREE LITTLE HEARTS


Very simple....I embossed three little circles with a Cuttlebug folder and placed a die cut heart inside each.  I ran a piece of red ribbon across the middle and then stamped the sentiment.

Thank you for stopping by!

Tuesday, February 5, 2013

CASING LYNETTE


I actually made this card last year but after Valentine's Day so I marked it for 2013.  Lynette had made a card similar to this.  When I saw it I realized I had a stamp that was very much like what she had used.  Since it is sometimes hard to come up with my own ideas, I ran with the idea and put this one together so I wouldn't forget it.

Here is Lynette's card that appeared on her blog: www.MyStampingAddiction.blogspot.com 

See the similarity?  :)  Thank you Lynette for always creating great cards to case.  And thank those of you who are stopping by!

Monday, February 4, 2013

"I LOVE YOU" Valentine


When I borrowed the Quickutz dies from my friend, Lynette, there was a die to cut two joined hearts with a perforated line that joined them.  These could be used for a mini card to put on the front of a card base.  I chose to leave them open and placed two sets side by side on the pink layer.  The top of the pink layer had been embossed with the Swiss Dots folder.  Then I used the "I LOVE YOU" die on the bottom.  I added three scored lines under the Swiss Dots embossing and a narrow piece of white lace.

Thanks for stopping by!

Sunday, February 3, 2013

TWO VALENTINES

Yesterday turned out to be more busy than I had planned but was a fun day.  We drove an hour to where one of our daughters lives and watched her son (who will be 7 on the 7th of February) in a little practice basketball game.  Then we watched his 14 year old sister play a game in a tournament at a different school.  After church we went to a soup supper to raise funds for a town celebration marking 150 years of our "city".  They also had a silent auction and I won two of the three items I bid on.  So I didn't get a card posted, but this is the one I had planned for Saturday.

This was a fun card to make since it was so different than any I had done before.  I had borrowed some Quickutz dies from my friend, Lynette last summer.  This is such a fun die because the letters pop up to give great dimension.  The paper is from Lasting Impressions.  I left a wide enough margin at the top of the strip to make the heart design with a Martha Stewart punch.  This piece was added to the card base which had been embossed with a Sizzix embossing folder.


This is the card I had marked to post today.  First I cut a piece with SU Pretty in Pink paper which was slightly smaller than the A2 card base.  Using another Quickutz die from my friend, I cut the "I LOVE YOU".  I placed the pink piece in the embossing folder with the bottom portion hanging outside.  After embossing the heart design, I scored three lines between the die cut and the embossing.  The hearts were cut with two other Quickutz dies using Lasting Impress papers and added to the front of the card using foam dots..  I like the shape of the hearts.

Thank you for stopping by!

Friday, February 1, 2013

TIME FOR A VALENTINE


I am posting a very simple Valentine to start off February posts.  I've had a very busy day today and needed to post something very quick that wouldn't need a lot of explanation.  The embossing folder I used for this card is from Crafts-Too.   The hearts were made with a die I borrowed from a friend.  The die is from Quickutz I believe.  I like the whimsical style of the heart shape.

Thank you for stopping by!

One of the cards made on  this  vi.deo used this stamp from the Flowing Flowers set.  This isn't a two-step design and I wasn't sure...