Thursday, January 31, 2013

POCKET CARD


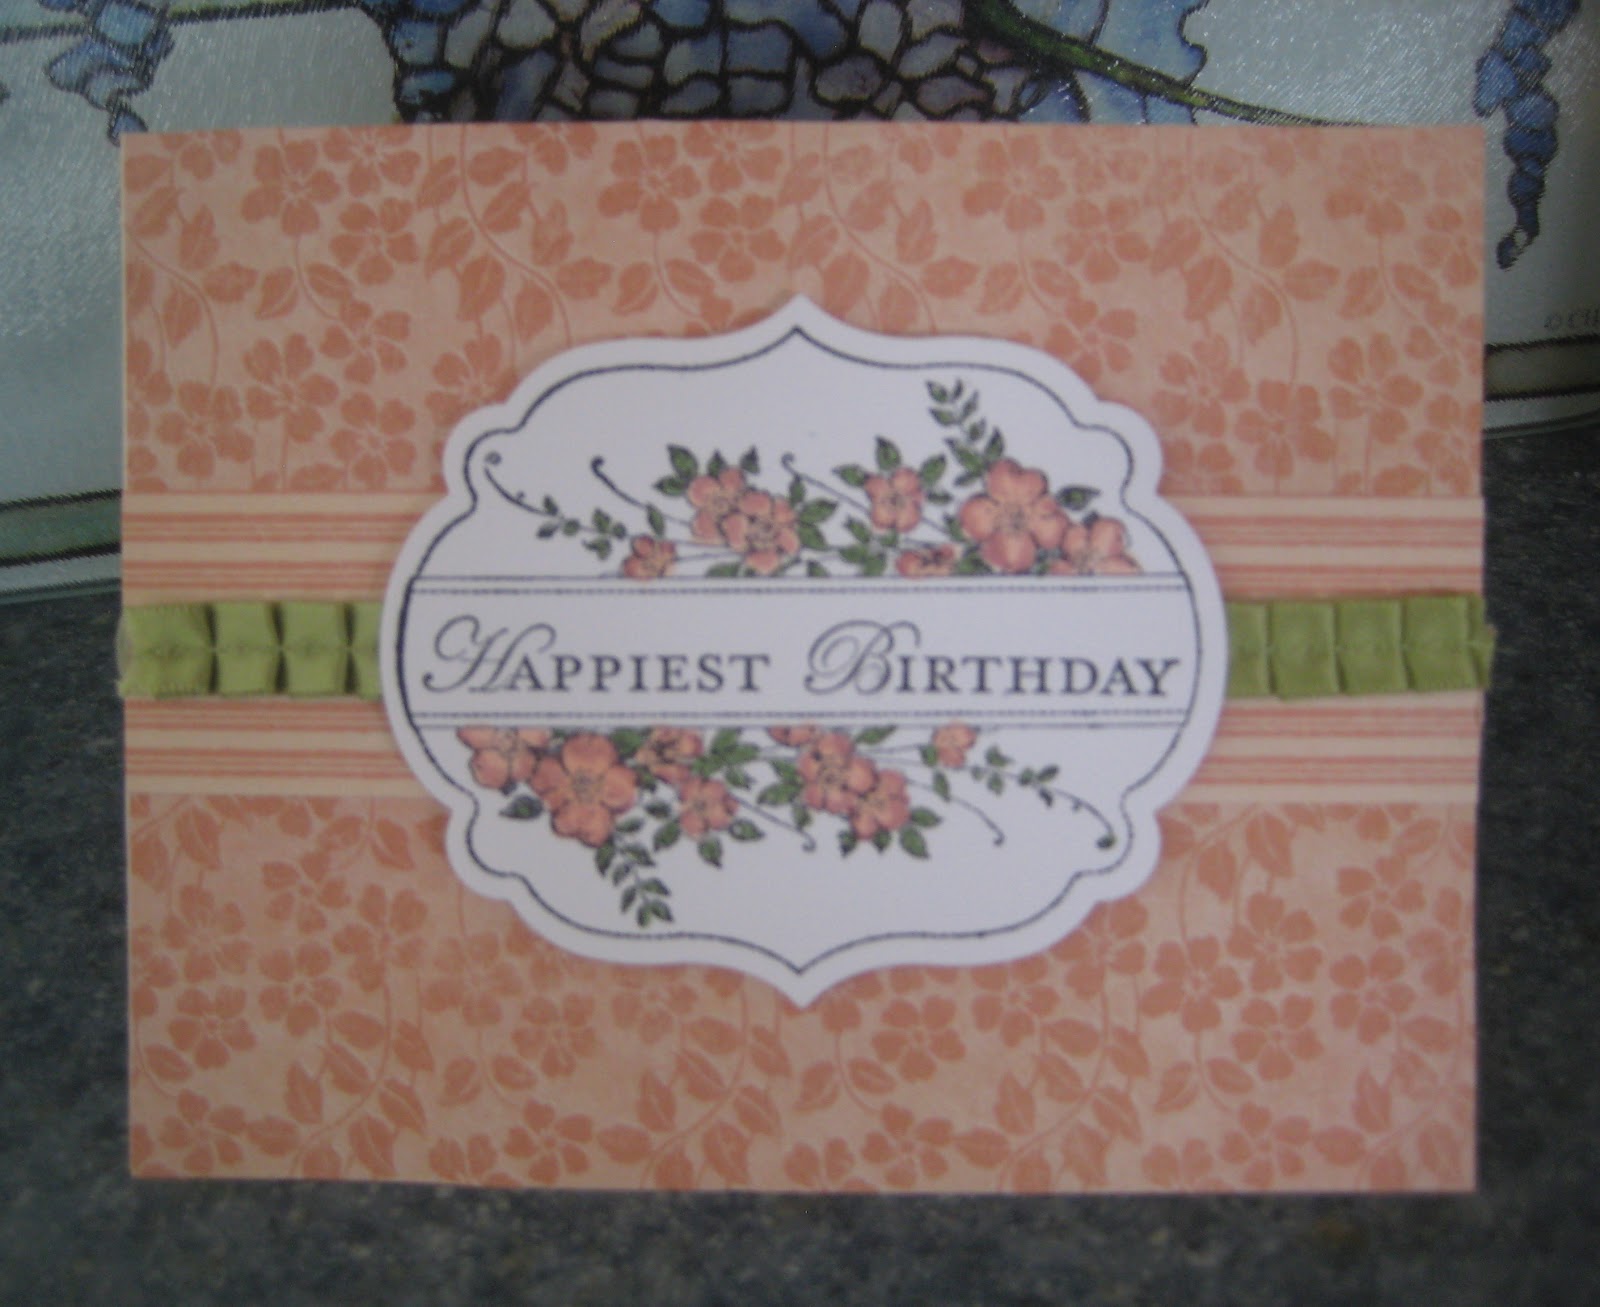
A long time ago I made a card like this and it was not a card to open.  The piece that says "Happy Birthday" actually sticks down inside a pocket and there is room to sign the little piece and send it.  However, without thinking I started to put this together on a vertical fold piece of card stock so I won't sign the piece on the outside of the card.  I will stamp another sentiment inside wishing them a happy day.  The papers and trim are all from a Making Memories paper pad that I got at the same time I purchased the "Emma" pad used a few days ago.

Well, here we are and it is January 31.  Already one month of 2013 has passed, but that just means we are that much closer to SPRING!!!

Thank you for stopping by!

Wednesday, January 30, 2013

ANOTHER BIRD

A Yahoo group that I belong to had a card swap this month and we were to use Burgundy and Forest Green.  My "burgundy" is actually Elegant Eggplant but it is as close as I could come to the color we were to use.

I used a "tree" embossing folder from Craft Concepts since it went so well with a "bird" focal point.   The label was cut and embossed using a Spellbinders die.  While the label was still in the die, I lightly sponged Elegant Eggplant ink on the background.  The flowers and bird were stamped using an SU set called "Language of Friendship".  I have punches that coordinate with those designs.

Thanks for stopping by!  Please come back again soon.

Tuesday, January 29, 2013

BECAUSE YOU'RE SPECIAL


I decided to take the plunge and by the stamp and dies for this SU "Secret Gardens" set.  Since I do tend to make a lot of CAS cards, this set makes it so easy to put one together very quickly.  I love the way the stamps and dies coordinate.  I didn't stamp the leaves at all but just die cut them from a scrap piece of a green card stock.  I used VersaFine Onyx Black ink on Cherry Cobbler card stock for the flower. The picture doesn't show it but I also stamped just the center of the flower and cut it out by hand.  Then the edges were ruffled up a bit and attached to the main piece with a glue dot.  It gives just a little dimension the flower.  I can see myself making a lot more cards similar to this with various colors of flowers - especially when I get in a pinch and need a really quick card.  It's a great design to use for multiple occasions.

Thanks for stopping by! 

Monday, January 28, 2013

ANNIVERSARY

 
This variation of yesterday's card is just a strip of the designs and then I added another white piece of cardstock under it with a design from a Martha Stewart punch.  The vertical sentiment is from Paper Inspirations.
 
Thanks for stopping by!

Sunday, January 27, 2013

HAPPY BIRTHDAY, JENNIFER


HAPPY BIRTHDAY TO OUR BEAUTIFUL DAUGHTER, JENNIFER!  This isn't the card I sent her but I atleast wanted to post a birthday card ON her birthday.

One day when I was checking out Split Coast Stampers, I saw a card that had used this stamp.  It is stamped one way and then turned 180 degrees to use the design "upside down" if you will.  Since I had that stamp and had never thought to use it that way, I decided to CASE the idea.  I decided to add a decorative edge inside the card too.   I have another card for tomorrow using this same design.

Thanks for stopping by!  I hope you come back tomorrow to see the variation of this design.

Saturday, January 26, 2013

MY FAVORITE PENNY BLACK FLOWER


This Penny Black flower stamp is called "Blush" and is one of my very first Penny Black stamps so maybe that is why it has remained one of my very favorites.  It's easy to ink up and is such a graceful design.  I used a Cuttlebug embossing border folder along the left edge of the white layer, scored a couple of lines and then stamped the flower in the middle of the remaining portion of the layer.  The sentiment is from a little Inkadinkado 3 piece set and the cute little butterfly which I use a lot is also from a 3 piece Inkadinkado stamp set.

Remember:  I take orders for Penny Black (and Hero Arts) supplies.  There are new stamps coming out from both companies, so be sure to check them out and then let me know if there is anything you would like me to get for you.  I have seen a lot of great new stamps from Penny Black.

Thanks for stopping by!  I always appreciate the comments are left by those of you who stop by.

Friday, January 25, 2013

WELCOME, HUNTER ALLEN


Yesterday one of my nieces gave birth to a baby boy - their second - and his name is Hunter Allen.  I knew they were going to have a boy so I went ahead and made this card for them.  I chose these papers and design because of the gifts we will give them.  I crocheted a baby yellow blanket for him and will also give him a teddy bear.  Having a new baby in the family is always exciting.  I can't wait to meet him but they live over 100 miles away so it might be awhile.

The papers are some that I probably bought at Michael's.  The stamped design is from Darcie's and may well be discontinued since I have had this one for a long time.

Thanks for stopping by!  Hope you stop by again real soon.

Thursday, January 24, 2013

MORE MAKING MEMORIES "EMMA"


While I had the Making Memories papers out, I decided to make a couple more cards.  Card base was embossed with the Cuttlebug Swiss Dots folder and has scalloped layers of five different papers.  To cover the top edge of the flowered piece I added a piece of the green rick rack that is part of the matching Emma embellishments.

For the second card I wanted to use a larger piece of the pretty flowered dp and then added a strip of the flower border embellishment.  

Both butterflies were cut with Spellbinders dies from the Wonderful Wings set.  The set consists of 5 different shapes (solid and an open design). 

Your comments are always welcome and appreciated!  Thank you for stopping in today!

Wednesday, January 23, 2013

MORE TERRIC TULIPS


This is another version of the card I posted yesterday.  I love this set!  I think it makes a calming design to send as a get well card.

Your comments are always appreciated so please let me know your thoughts.  Thank you so much for stopping by!

Tuesday, January 22, 2013

HAPPY ANNIVERSARY


My brother and his wife are celebrating their anniversary today and this is the card that I made for my mother to send.  I cased a card I saw at a craft show back in November.  Wish I could have taken pictures of so many of her cards but of course I know that would have been rude.  :)

The stamp set is a retired set -Terrific Tulips from Stampin' Up.  It is a 2 stem process to do the flower buds and two separate stamps for the stem and leaves.  Inks used were Wild Wasabi and Elegant Eggplant. To soften the look I sponged some of the Elegant Eggplant ink around the edges of the floral design.

On the inside of the card I added a couple of the cute little butterflies above the sentiment.  Your comments are always welcome and appreciated.  Thank you so much for stopping by!


Monday, January 21, 2013

TERRI'S BIRTHDAY CARD


Last Monday my friend, Terri, celebrated her birthday.  This is the card I sent to her.  The papers are from a Little Yellow Bicycle paper pad called "Winterings".  The papers are double sided and such great soft colors.  There are two pieces of the paper on the front of the card and I put a narrow strip of white over the seam.  Since I had punched the one edge with a Martha Stewart snowflake design, I kept the punched pieces and put five of them down the white strip.  A spot of Icicle Stickles was placed in the center of each of those pieces.  

Your comments are always welcome and appreciated!  Thank you for stopping by!

Sunday, January 20, 2013

TWO FOR ONE


The papers on these cards are from Making Memories "Emma" collection.  Since we have a granddaughter by that name, you can imagine why I HAD TO BUY IT!  The colors are just so pretty.  I've had the papers for a long time and decided it was time to dig them out again.  The ribbons used on both are also from that collection - as are the butterfly buttons.

I punched each size of the daisies twice for each flower with Marvy punches and then gently pulled the petals of each of the flowers forward to give them some dimension.  The leaves were made with a Sizzix Embosslit.

Please always feel free to give me your opinions on my posts.  I welcome and appreciate your comments.  Thanks for coming by!

Saturday, January 19, 2013

TWO TRENDY TREES


One day a while back I was trying to come up with a design for the three trees that are in the Trendy Trees stamp set.  Each tree takes two steps and required using a Stamp-A-Ma-Jig to line up the tree trunk with the tops.  Even then it took me several tries to get what I wanted, I got smudges of ink on two of the items I worked that I couldn't repair.  After all those tries I certainly didn't want to discard the entire piece which had been done on a large circle cut with a Spellbinders die.  I discovered that by using a smaller die I could isolate the two trees and a portion of the "grassy area".    

I sponged a little light Baja Breeze around the tree designs and then a little more around the edges of the white area.  That layer was attached to a circle which had been cut with a Butterflies Circle die from Spellbinders.

That much was completed and was laying on my table for a few days.  Rather than take a chance of losing it, I pulled out some SU dp that matched the Baja Breeze card base.  Before attaching the designer papers and stamped design, I ran the card base through the Cuttlebug with a Craft Concepts "Garden of Trees" embossing folder.

Your comments are always welcome and appreciated!  Thank you for stopping by!

Friday, January 18, 2013

STAMPIN' UP! Flower Fest


I found this layout on Splitcoast Stampers but used my own colors and papers.  I embossed the top and bottom edges with a Cuttlebug border folder.  I'm not sure if it shows in the picture but I scored a line below the upper embossing and above the bottom embossing.

I had to do some measuring to figure how wide the strips of Lavender Lace and Wild Wasabi SU card stock would be along with the flowered dp.  The strips were added to the back of the flowered designer paper.

The patterned background, leaves and flowers all papers from the Graphic 45 "Place in Time" 8x8 paper pad.  I stamped the flowers and leaves with SU Craft White ink and then heat embossed using Opaque White powder.  They were cut out and attached to the flowered background.  The top flower was attached using a foam square to pop it.

Thank you for stopping by!  Your comments are always welcome and appreciated!

Thursday, January 17, 2013

TWO LOVE BIRDS


Using the same bird punch I was able to punch one reversed so they could be facing each other.  The label was made using one of the Framelits dies.  I found a VeraColor Cinnamon ink in my supplies that worked great for sponging the background for the birds.  I added  some pine branches that I made using a McGill punch.  The card base was embossed with the Cuttlebug D'Vine Swirls folder.  To cover the area where I joined the two branch punches, I added a small pink heart.  This will make a great anniversary card and could be used for a wedding card as well.

Your comments are always welcome and appreciated!  Thanks for stopping by!

Wednesday, January 16, 2013

BIRD ON A BRANCH #3

This is another card I made after seeing one that was kind of similar on SCS.  I used a different layout, embossed a panel of leaves for part of the front and added a butterfly.  

I'm always happy to answer questions so let me know if you are wondering about something.  Thanks for stopping by!

Materials used......
Ink:  SU Pacific Point
Cardstock: SU Pacific Point (designer pack), White, Lasting Impressions Bubble Gum and a scrap of a green for branch
Other:  SU Bird/Branch punch, McGill Flower punch and Pearl Pen (for eye, flower center and on butterfly).

Tuesday, January 15, 2013

BIRD ON A BRANCH #2

Using the same steps I used yesterday, I made the same card with new colors but added an additional layer by using some of the dp from Stampin Up that has birds on it.  The card stock is Baja Breeze.

If you have any questions just let me know.......thanks for stopping by!

Monday, January 14, 2013

BIRD ON A BRANCH #1


I decided to make a "shaped card"  I cut the card base with the Spellbinders Labels 17 by placing the die slightly above the fold of the card.  Then I cut a single Labels 17 die and attached it over the card base so the card would appear to have the entire shape.

The next smaller Labels 17 die was used to cut a Real Red label which was then run through the Cuttlebug with the Swiss Dots folder. 

The white layer is two sizes smaller than the red layer.  I stamped "A Warm Hello" off to the side.  The bird was stamped with the bird from the SU Punch Potpourri stamp set using Real Red Ink.  A second bird was stamped and punched and then the wing was punched from the portion of the bird that has the design.  The back wing was punched with white cards stock and then sponged with Real Red ink.  There are two branches which were punched with white card stock and sponged with Wild Wasabi ink.

Thank you for stopping by!


Sunday, January 13, 2013

STAMPIN' UP IN COLORS


One time when I took items that I no longer used to a stamp sale, I saw this SU stamp set and I was able to buy it for only $2.00!  Monday night I was going through some stamp sets that I have never used and ran across this one.  (NOTE:  By the way, does anyone know the name of this stamp set?  The label says "Sprinkles" but I'm not sure that is correct.  I checked several sites and when I searched "Sprinkles" none showed up like this.)

I used 4 of the 2011-2013 In Colors.....Calypso Coral, Lucky Limeade, Pool Party and Wisteria Wonder.  The embossing at the top and bottom was made with a Cuttlebug border folder.  I'm not sure if you will be able to see it, but there is a background stamp on each of the three pieces.  The flowers were stamped using Memento Rich Cocoa instead of the Black Tuxedo and then colored with the "In Colors".

(NOTE:  Some of you may have already seen this post because it accidentally got posted for the wrong date.)

P.S. Thank you to Mehrll for letting me know that the proper name for this set is "Oh So Lovely".  The stamps were obviously put into the wrong case for the stamp sale......but I'm sure glad I got them anyway.)

Saturday, January 12, 2013

BUTTERFLIES GALORE - Day Three

I cannot take credit for this card at all.  I saw a card almost identical to this one posted on the SCS Gallery pages.  I used the same colors.  The light "fine script" dp did look a lot lighter on the card I saw on SCS.  I reversed the placement of the two butterflies and used a different sentiment. This isn't a color combination I would have thought to use together but I do like the card and would use the colors again......Wisteria Wonder and Calypso Coral.

Your comments always mean a lot to me so let me know what you think.  Thanks for coming by!

Friday, January 11, 2013

BUTTERFLIES GALORE - Day Two

I don't think this needs any explanation.  The butterflies were punched with SU double sided designer papers.

Thanks for stopping by!

Thursday, January 10, 2013

BUTTERFLIES GALORE - Day One


This is a very simple card to make.  Card base is SU Pumpkin Pie card stock and embossed with the Cuttlebug Swiss Dots folder.  White label was cut and embossed with a Spellbinders die.  Butterflies were all punched with the SU butterfly punch.  I punched each one in the solid color and then punched the dotted pieces.  The dotted pieces were attached to the solid layer using pop dots and then adhered to the white label.  Sentiment is from Inkadinkadoo.

Your comments are always welcome so please let me know what you like or don't like.  Thank you for stopping by!

Wednesday, January 9, 2013

SPELLBINDERS "LES PAPILLIONS"


If you haven't ever checked out the Pals Paper Arts, it is a great blog to see cards made by the design team members.  Cindy Hall (Pretty Impact) had a card that I just loved and partially CASED.  You can see her card here:  A Big Thank You! |

I used Baja Breeze for the card base, Pacific Point instead of Indigo Island for the layer and strips are from an SU designer pad.   Then I added my own focal point.  The butterfly is from the Spellbinders Les "Papillions" die set.

I edged the scalled circle with Pacific point ink but then sponged the same color around the die cut.

Your comments are always appreciated so let me know what you think.   Thanks for stopping by!

Tuesday, January 8, 2013

LADY BUG STICKER CARD

One of the set of stickers I had in my "stash" was a sheet of rub-on lady bug stickers.  This was a fun colorful card to make.  

Have you used any type of sticker to make a card?  Sometimes they are just fun to use as a change-up from stamping or embossing.

I'd love to have you tell me what you think.  Thanks for stopping by!

Monday, January 7, 2013

STAMPIN' UP! - WISTERIA COLOR

I saw a card similar to this on a blog some time ago.  The card I saw used different papers but used the same stamp set - SU Pocket Silhouettes.  I think they may have made a larger card - possibly 5 x 7 - because they were able to put a third circle design along the white line.  I did stamp a third design from that set but I used it on the inside.


This is the inside of the card.  I'm trying to remember to something inside the cards I make besides just stamping a sentiment.
I always enjoy hearing from you so hope you will leave a comment.  Thank you for stopping by!

Sunday, January 6, 2013

LE FLORAL LEAF PUNCH


This card is a case of one that my friend, Lynette (My Stamping Addiction) made.  When our group met in Des Moines last summer I used her EK punch to make several of these pieces.  The main difference with my card is the color of card stock I used.  I really love tis border punch.
 
(NOTE:  I discovered part of the problem with posting pictures was trying to upload pictures to my Picasa album through AOL.  I switched to Firefox and was able to upload the picture to Picasa and then to my blog.  Problem solved but still confused as to why AOL is all of a sudden giving me problems.)

Friday, January 4, 2013

HAPPIEST BIRTHDAY - Version #2

Version #1 can be seen on 11/27/12 post.
 
The stamp for this card is SU Apothecary Art.
DP is from Graphic 45 "Once Upon A Springtime"
Pleated Satin Ribbon is SU Pear Pizzazz (discontinued)
 
I popped the stamped image with foam squares on the top
edge and bottom edge to sit over the pleated ribbon.
 
Thank you for stopping by!


Thursday, January 3, 2013

Wednesday, January 2, 2013

POT OF POSIES


Made at a workshop I attended.
Questions? You can email me......I'm a little under the weather.

Tuesday, January 1, 2013

This is the  video  I used to make this card using more retired dsp. After I finished, I was a little dissatisfied with the white background...