Sunday, May 14, 2023

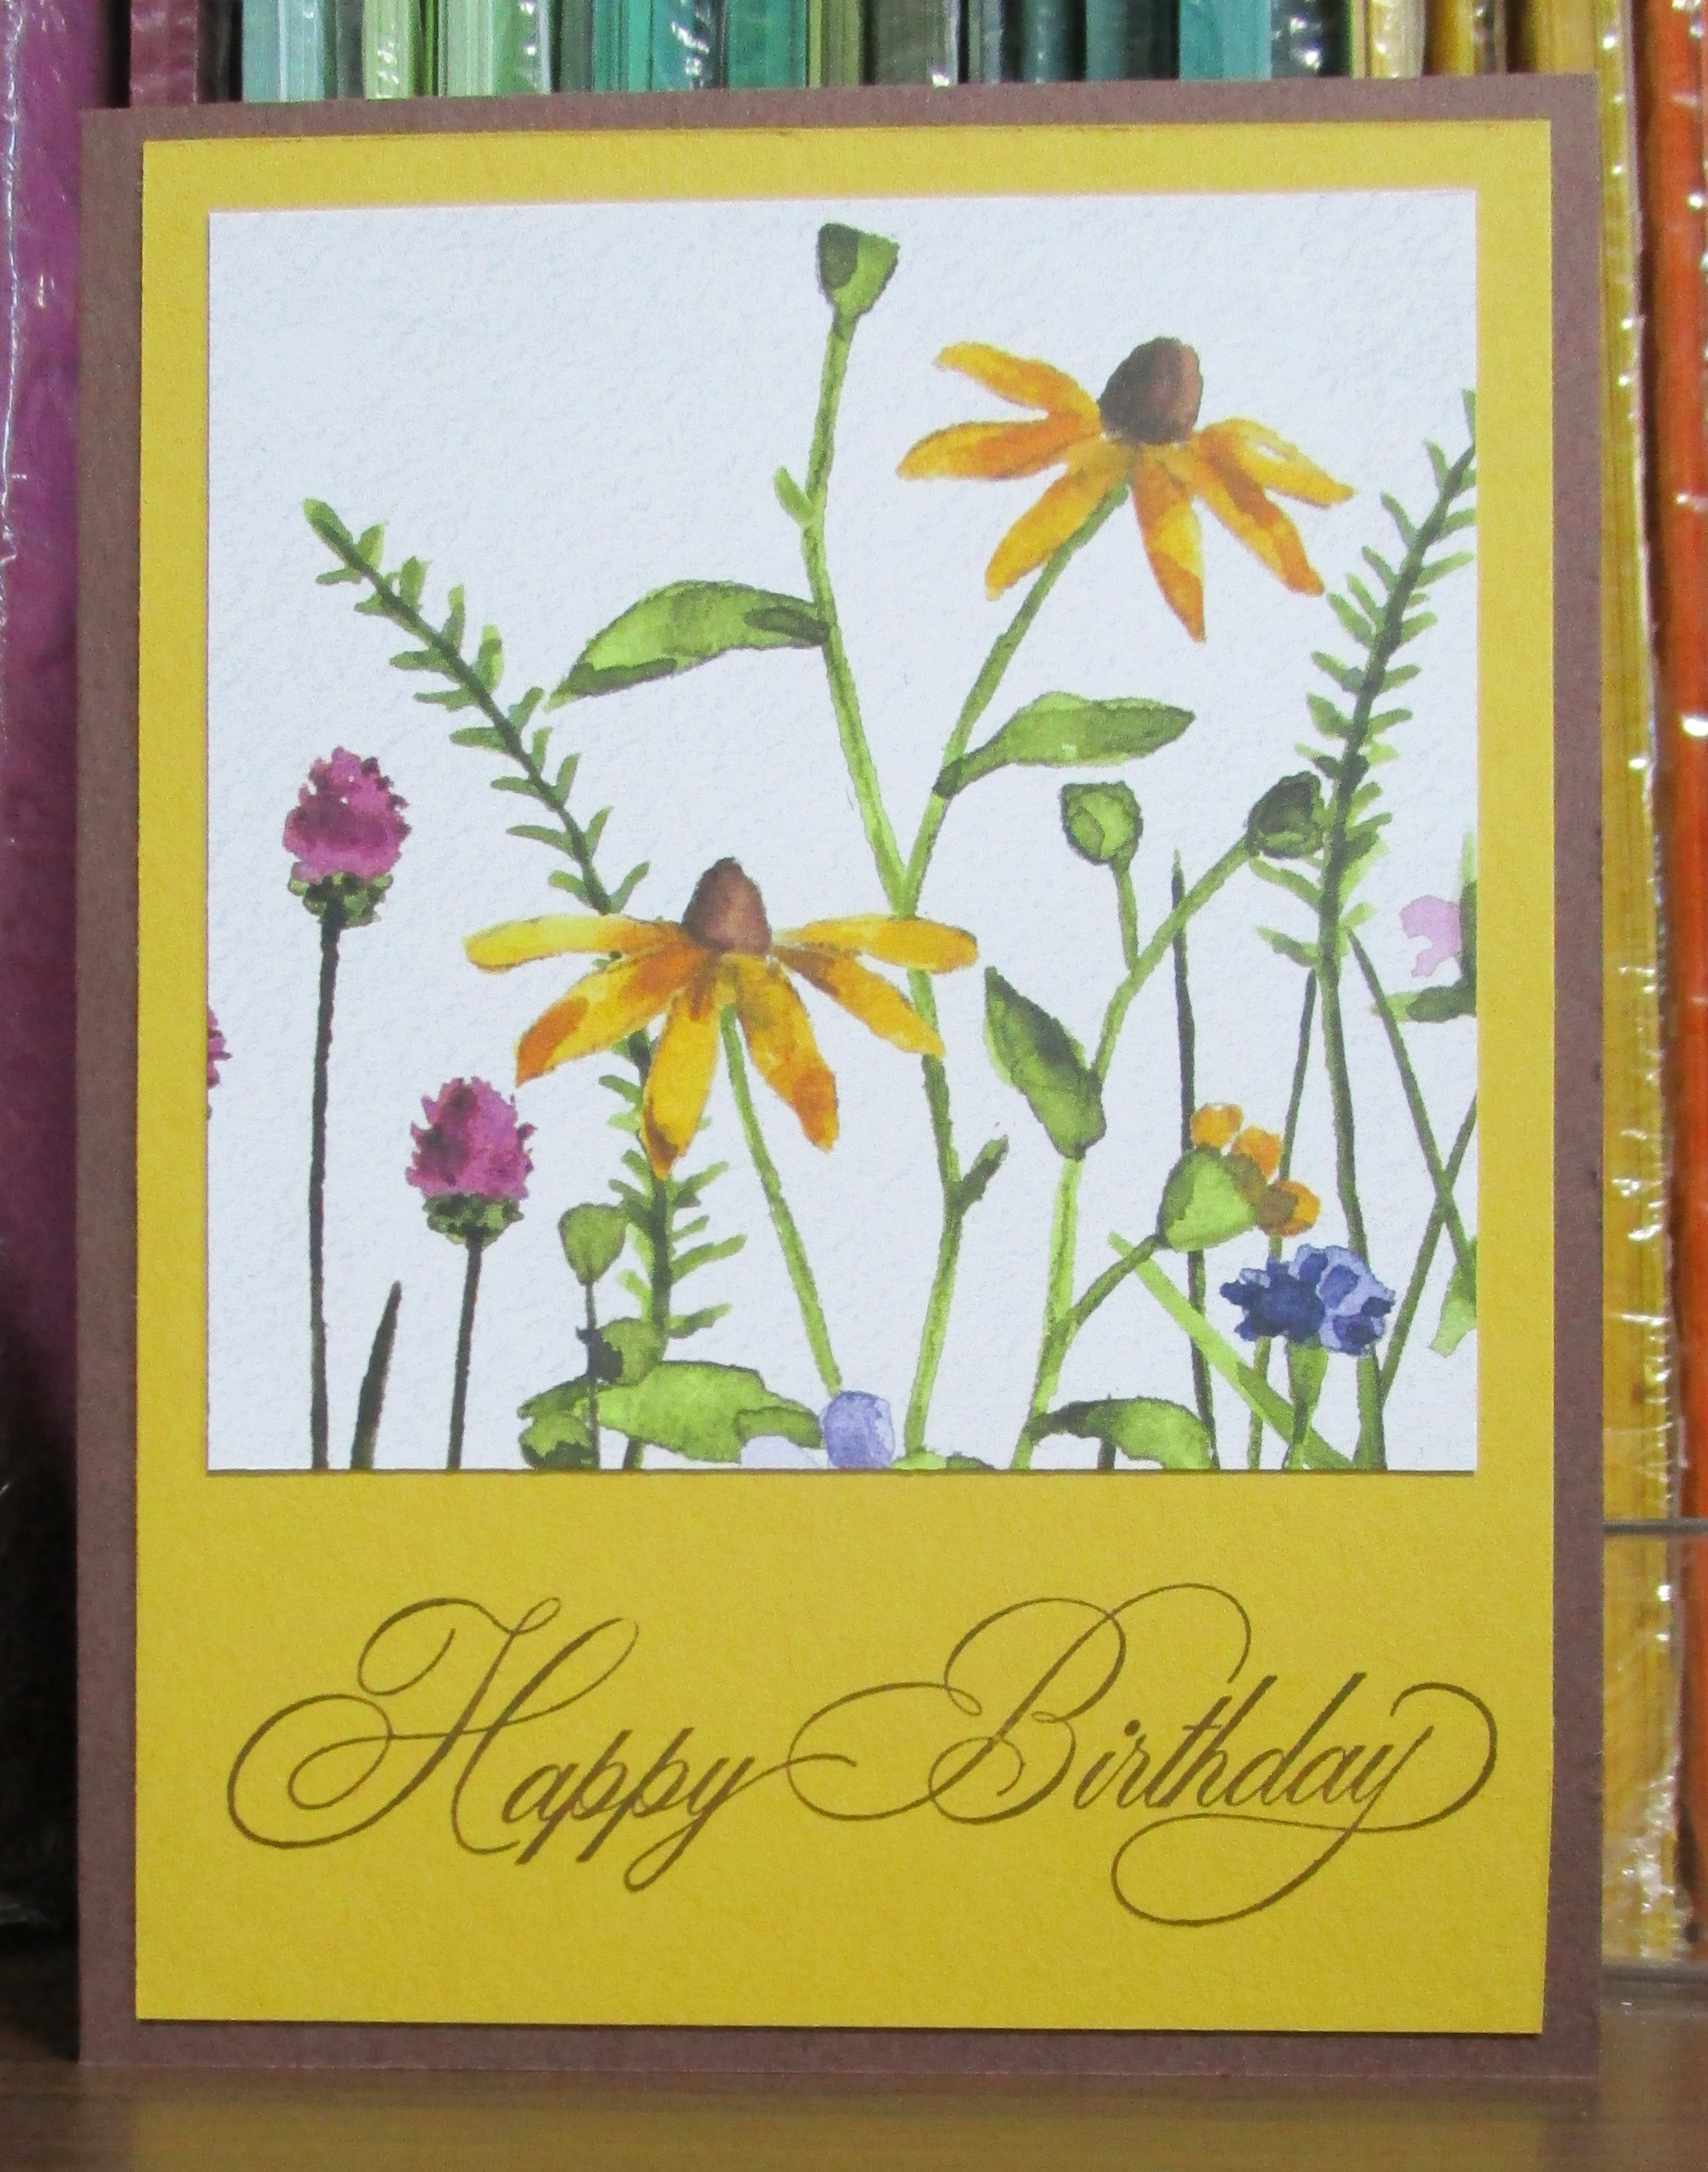
STAMPIN' UP! - Awash In Flowers


Another CASE............Kylie Bertucci had a card on Pinterest which provided the inspiration for this card.  This card not only used the dsp but also the coordinating stamp set.  I love those little gold butterflies!

Thank you for coming by today!


Saturday, May 13, 2023

STAMPIN' UP! - Awash In Beauty dsp


Once again, I'm using a retired dsp.  (One of the papers in this package even has designs that can be cut out with the coordinating die set.)

The piece I chose for this card had a great complimentary design on the reverse side.  I cut a piece that was 4" x 5 1/4".  After cutting and scoring the card base, I cut off a 1" strip from one side to use on the narrow panel on the right.  I then had to also trim off a narrow piece on the larger design panel to add to the front. I fussy cut one of the flowers from a scrap and added it with a dimensional.  The sentiment  piece looks crooked in the picture, but maybe it's just the angle of the picture.  The sentiment was actually added to the right panel........it then tucks under the flower to keep the card closed.

Thank you for coming by today!
 

Friday, May 12, 2023

STAMPIN' UP! - Fancy Floral dsp


The papers in this pack are so pretty and so different from any other papers I have.  The watercolor look and the combination of colors are so fun to work with.

Thank you for coming by today!


Thursday, May 11, 2023

STAMPIN' UP! - 2 Cards with Dainty Daisies dsp


Today's card is a CASE of one I saw made by Debbie Mageed (SecretStamper.com). I loved how she combined the frame from Framed Florets die set.  I changed mine up with a different sentiment and used it on a circle.

Thank you for coming by today!

Wednesday, May 10, 2023

MORE TULIPS


 I still had some of this pattern from the Flowering Fields dsp.  If you have ever made one of the "Spanner" (or "Bridge") cards, this is the same idea.  The difference is that you glue down the two panels on the left and right side.  The mid section is the only part that opens.  

I hadn't used the "Tulip" dies yet and decided it was time to give it a try.  I found that forming the tulips with card stock makes them pretty thick.  I did make a different card but used some thinner paper which made them lay much better.

Thank you for coming by today!

Tuesday, May 9, 2023

BOOK BINDER CARDS - 3 WAYS


It's the time of year to be using papers with tulips!  My own tulips don't lasts very long due to the windy days we tend to get, but I can enjoy them on these papers.


Using the same measurements and scoring, you get a different look by using the papers horizontally.


This tends to be the way I usually do book binder cards.  I must have been in a hurry to get some of this paper used up, because I wish I would have taken the time to add some sheer white ribbon to the left side before gluing it down.

Actually a fourth way would be to use this same format but turn it vertically with the designer papers.  I didn't think to do that.  Thank you for coming by today!


Monday, May 8, 2023

HAPPY ANNIVERSARY!


Today's card is a CASE of one I saw on Pinterest.  As I have said before, when I am trying to use up some of my papers, I turn to Pinterest for immediate ideas. That way I don't have to "think" about what to do with the paper.  I saw this one and knew I had to do it even though it was going to take a little more time.  (That paper is my very favorite from the collection.)

I had to do a little "guessing" for measurements.  The card base is 8 1/2" x 5 1/2", scored at 4 1/4".  I added a 4" x 5 1/4" piece of glossy gold card stock t o the front.  The dsp was cut to 3 7/8" x 4 7/8".  A 1" strip was then cut off each side of the dsp and flipped for the card.  I added the dsp to the gold piece with glue so that I had a little wiggle room but had to be very careful not to have glue ease out on the side.

The hexagon pieces were cut with the  SU "Hello Beautiful" dies.  The back layer is made with vellum.
After  cutting the Mint Macaroon leaves and the Blushing Bride sprigs,  I placed them on the card with the vellum on top but didn't attach the vellum.  Then I taped down the leaves/sprigs.  After stamping the sentiment on the pink hexagon, I glued it to the vellum.  That piece was then added over the leaves with dimensionals.

This card will be sent later this month to a high school friend who will be celebrating their 58th Wedding Anniversary.  I was in their wedding and always try to get a card off to them.

Thank you for coming by today!


HAPPY BIRTHDAY TO OUR GRANDDAUTER, EMMA!

This is the third August birthday card for a granddaughter........August 9, 17 and 19!  They keep Grandma busy! I'm sure I made a card f...