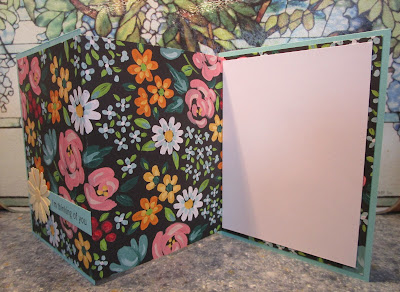
The card starts off by cutting a 12" x 5 1/4" piece of card stock. A great way to use up a large section of designer paper. You can bet I'm going to do this again with other papers!!! The directions were to then score at the 4" and 8" marks and adhere the back piece to a 4 1/4" x 5 1/2" piece of coordinating card stock. (continued)
I realized that when the card was open, it wouldn't sit quite level so I added another piece of the coordinating card stock to the front panel. The piece on the back of the front panel can only be 5 1/2" x 4 1/8". Then when the card is closed, you can see from the first picture that the right side shows the colored card stock from the base. (It doesn't work to do the same thing to the middle panel.)
Thank you for coming by today!


2 comments:
Very cool card, Vicki! I love the matching envelope, too. I still don't have a die to do that. I should try something else, but I never think of it when it's a good time to experiment.
This is such a cool card. The paper you used is really pretty, too. I can see where this card could be dressed up or down. There's lots of space for die-cuts or stamped messages if one wanted to go that route. Thanks for your clear explanation on how to make this card. I always appreciate a tutorial I can actually follow.
Post a Comment